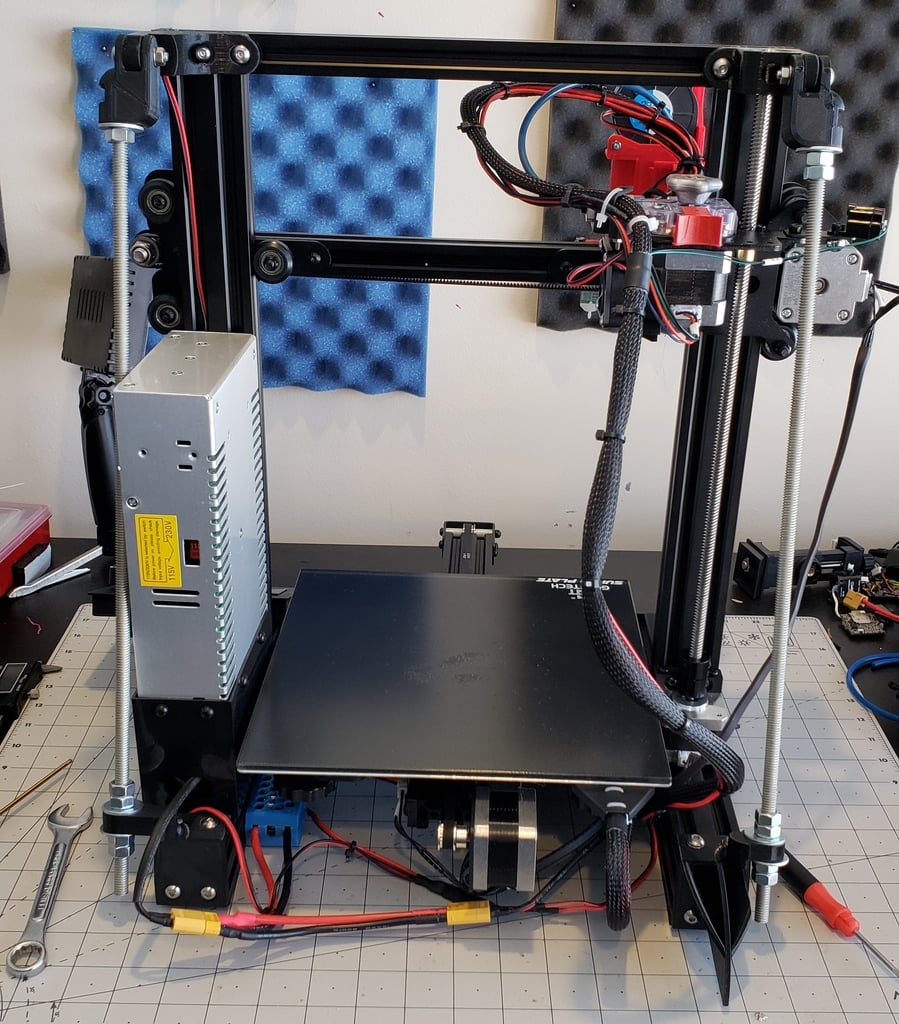
Geeetech A10 (v3) Z-Stabilizer Rods
thingiverse
It seems like you've put together a comprehensive bill of materials for your project. Here are some observations and suggestions: 1. **Nuts:** You're using M5 nuts, but later in the instructions, you mention using 5/16" nuts. Make sure to be consistent throughout the project. 2. **Washers:** You've listed stainless steel flat washers, but there's no mention of them being used in the project. If they're not necessary, you can remove them from the bill of materials. 3. **Rod Length:** The rods are specified as 36" long, but you mentioned cutting them to 17" pieces. Make sure this is a correct length for your project and adjust accordingly. 4. **Lead Screw:** You've mentioned removing the lead screw on the left extrusion bracket to tighten both screws. However, in the instructions, it's not clear how to remove the lead screw or what happens if it doesn't come out easily. 5. **Tightening Order:** It's recommended to tighten the nuts in a specific order to ensure even pressure and prevent damage to the rods or other components. This should be mentioned in the instructions. 6. **Safety Precautions:** Always wear safety glasses and gloves when working with power tools, and make sure the work area is clear of clutter. 7. **Project Complexity:** This project seems to be a bit complex, especially for beginners. Consider adding more detailed explanations or diagrams to help users understand the steps better.
With this file you will be able to print Geeetech A10 (v3) Z-Stabilizer Rods with your 3D printer. Click on the button and save the file on your computer to work, edit or customize your design. You can also find more 3D designs for printers on Geeetech A10 (v3) Z-Stabilizer Rods.