Gear O'Clock
thingiverse
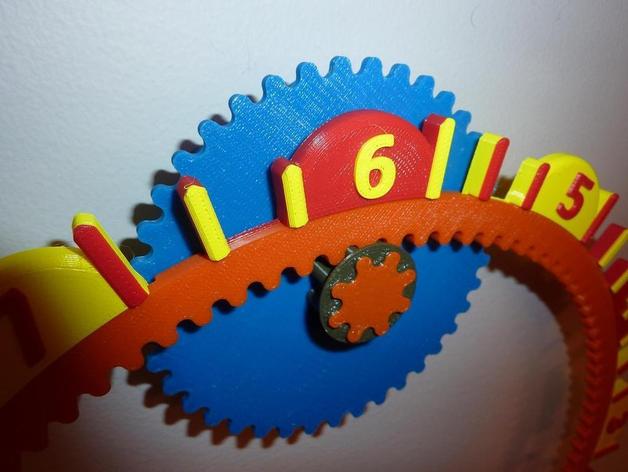
Check out our new video featuring a 3D printed clock! Get ready for some WOW moments. The clock comprises 12 number plates, 2 gears, and 1 mount, all measured in inches. In the downloadable zip folder, you'll find two versions of the main drive gear and clock base (a 10" gear). The gear is sectioned into four pieces that require printing twice, while another version comes without support. This design ensures that it fits most hobby printers and doesn't need any support inside a 4x4" box. To use the clock, purchase a clock assembly from Walmart or any craft store. The instructions are simple: remove the screws around the back perimeter of the clock, take out the clock hands gently, pry open the plastic tabs on the clock backing to remove the mechanism (be prepared for some glue). While your 3D parts print, disassemble the clock mechanism, remembering how it goes together. Cut the hour hand shaft flush with the clock housing using a fine hacksaw or Dremel tool and attach the printed clock gear onto the minute hand shaft (thanks to the 12:1 gear ratio). Reassemble the clock mechanism once done. Finally, glue the number plates to the clock base and assemble the base pieces if your printer bed is smaller than 10x10 inches. Hot glue the clock mechanism into the mount and press the drive gear onto the minute hand shaft. Enjoy your new 3D printed clock!
With this file you will be able to print Gear O'Clock with your 3D printer. Click on the button and save the file on your computer to work, edit or customize your design. You can also find more 3D designs for printers on Gear O'Clock.