Gatwick Frog - Cappuccino Stencil
thingiverse
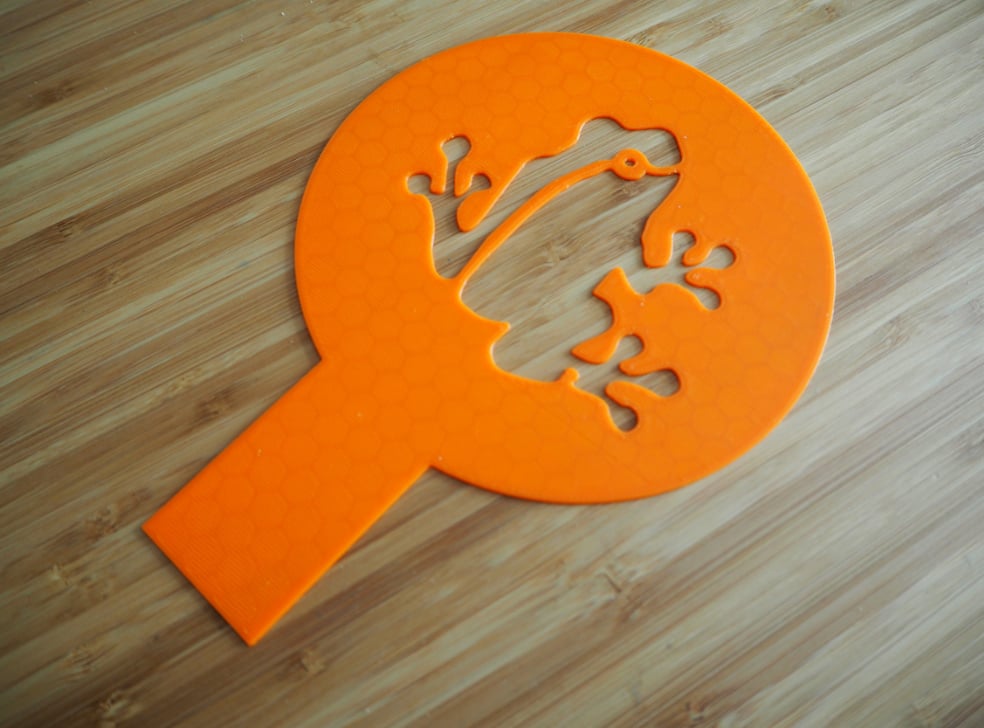
When I ordered a cappuccino at Costa in Gatwick airport, the lady asked if I wanted frog on it. I said yes, unsure if this was some new British euphemism that she might misinterpret if I declined. Fortunately, my concerns were alleviated when I received a lovely cocoa powder frog stenciled on top of my (very) large cappuccino. Ever since then, I've always wanted to have my own Gatwick Frog. And here we are, years later, as I'm sharing this with all of you so you can enjoy your cappuccinos the right way. This is my artistic recreation of the frog stencil from Gatwick, based on a picture I took of my coffee that day. I returned to Gatwick a few years later - the frog was gone, replaced by an anonymous coffee bean stencil. What a disappointment! Print in PLA. This design will be six layers (totaling 1.2mm thickness at 0.2mm per layer). Use two solid layers on top and bottom, then infill with 10% fast honeycomb. The result is absolutely perfect - it looks great and works wonderfully. This stencil measures 13 cm in diameter, making it suitable for wide cappuccino mugs. To create a Gatwick Frog cappuccino, place the stencil just above the foam and sift cocoa powder through it. Don't rest the stencil directly on the foam, as this will cause the foam to stick and mess up the image when you remove it. Instead, I place foam just below the rim of my cup and then position my stencil on top. I consider each day a good or bad frog day depending on how well the stencil turns out. I'm almost certain that it rains when the frog doesn't turn out nicely - or vice versa! You're welcome to share pictures of your stenciled Gatwick Frog cappuccino.
With this file you will be able to print Gatwick Frog - Cappuccino Stencil with your 3D printer. Click on the button and save the file on your computer to work, edit or customize your design. You can also find more 3D designs for printers on Gatwick Frog - Cappuccino Stencil.