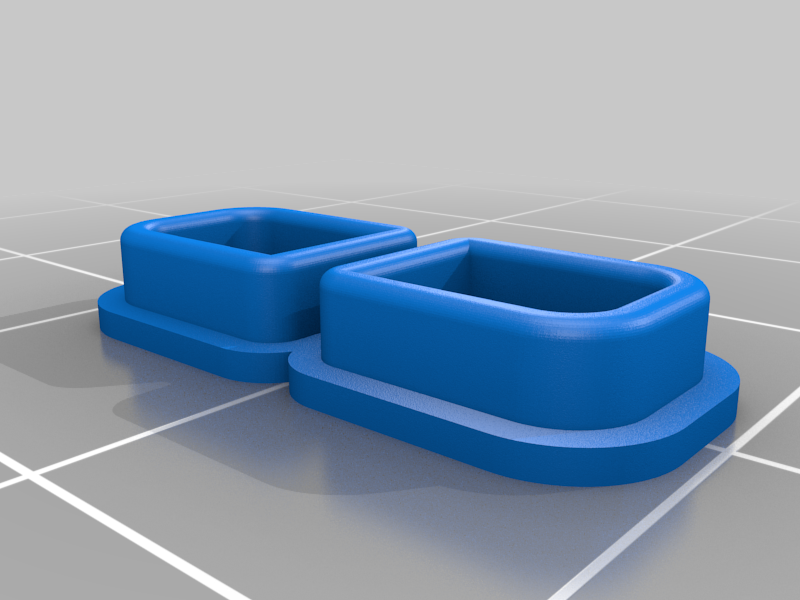
Garmin Etrex Button
thingiverse
My Garmin Etrex 30 buttons start to wear off, so I decide to replace them with new ones. Since the holes on the rubber buttons are already loose, nothing is lost by creating new buttons. The Etrex has three different sized holes in its carcass: the Power and Menu buttons have one size, while the Back button is slightly narrower. The buttons were designed using Fusion 360. Each button consists of two parts: an outer part that will be glued to the carcass and an inner part that is the actual button itself. Power and Menu files are available as Botao_OutV1.stl and Botão_IntV1.stl, while Back button files can be found in Botao_OutV1_back.stl and Botão_IntV1_back.stl. The Up and Down buttons' files are titled BotaoUpDownV1.stl, BotaoDown.stl, and BotaoUp.stl. I have left the original f3d file as well as the step and iges files available for anyone who needs them. To install the new buttons, cut off the old rubber button carefully. Using a sharp cutter, remove a small amount of rubber around the hole with care. Test whether the printed inner part slides smoothly into the outer part without friction. If necessary, sand the inner part or trim any excess material to achieve a smooth fit. Next, test if the button fits snugly into its designated spot on the carcass and functions properly. Apply a small amount of superglue to the outer part and hold it in position for a few seconds. Be cautious not to glue the inner part together. Once secured, check that the button is working correctly. A thin layer of black silicone can be applied around the printed button and the carcass to achieve a smooth finish.
With this file you will be able to print Garmin Etrex Button with your 3D printer. Click on the button and save the file on your computer to work, edit or customize your design. You can also find more 3D designs for printers on Garmin Etrex Button.
