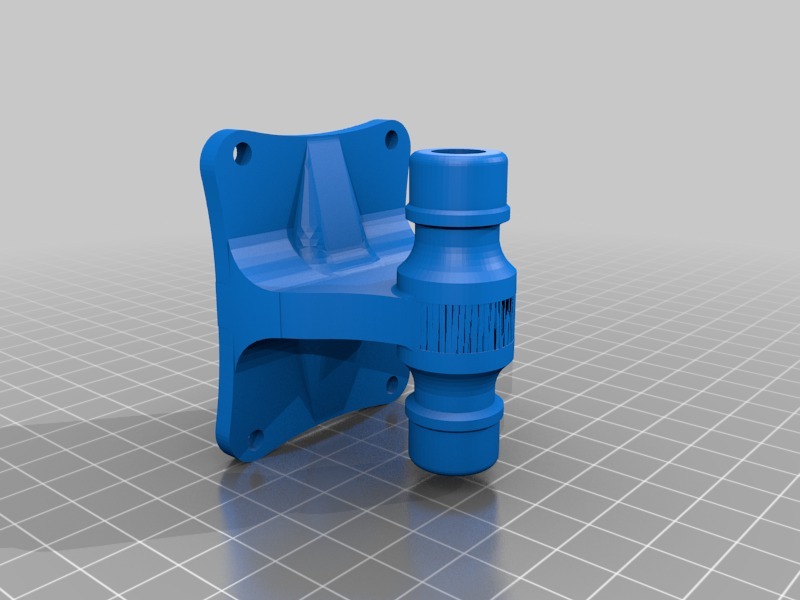
Gardena connector with wall mount
thingiverse
Mount your Gardena connector securely to a wall with this convenient mounting solution. To print successfully, ensure the connector is oriented upright, as it should be attached directly to the printer bed - not at an angle. When printing with Cura software, navigate to "Mesh Fixes" and select "Union Overlapping Volumes." This setting is crucial for a successful print. The model comes equipped with built-in support for the nut, which remains hidden after printing. However, additional support structures are necessary for the rest of the part.
With this file you will be able to print Gardena connector with wall mount with your 3D printer. Click on the button and save the file on your computer to work, edit or customize your design. You can also find more 3D designs for printers on Gardena connector with wall mount.