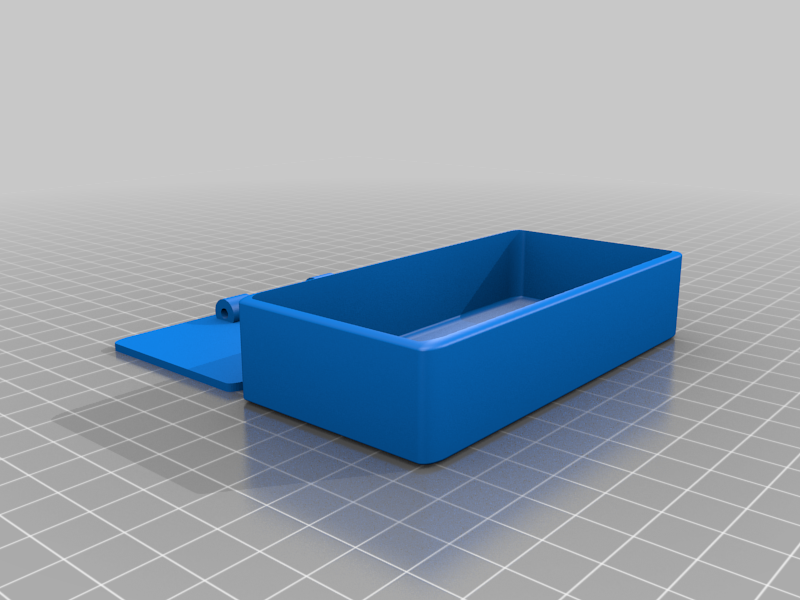

Garage Door Opener Case
thingiverse
We've got an old Sears garage door opener, and my remote's case was literally falling apart, and to make matters worse, the button wasn't making proper contact either. So, I designed this new case to fit snugly around the internal board and 9V battery, as well as a brand-new button wired directly to the contacts. We only used one large button for simplicity, so we soldered the single momentary pushbutton to the contacts - but you could easily add more buttons if needed. There's even a hole for an LED light to shine through, and I took it a step further by sanding down the LED to make it flush with the case, giving it a neater look overall. The pack panel has mounts for the original visor clip, and the back panel is designed to snap into place - though you could also glue it if needed. My own fit was pretty tight, so I left it unglued in case I need to swap out the battery anytime soon. First, we mount the button in place using the included nut, then solder it directly to the contacts for the button on the circuit board. Next, we set the circuit board into position so the LED pokes through the small hole and secure it with hot glue. The 9V battery is held down with a tiny spot of hot glue, and finally, the back panel snaps into place.

With this file you will be able to print Garage Door Opener Case with your 3D printer. Click on the button and save the file on your computer to work, edit or customize your design. You can also find more 3D designs for printers on Garage Door Opener Case.
