
Garage Door Opener
thingiverse
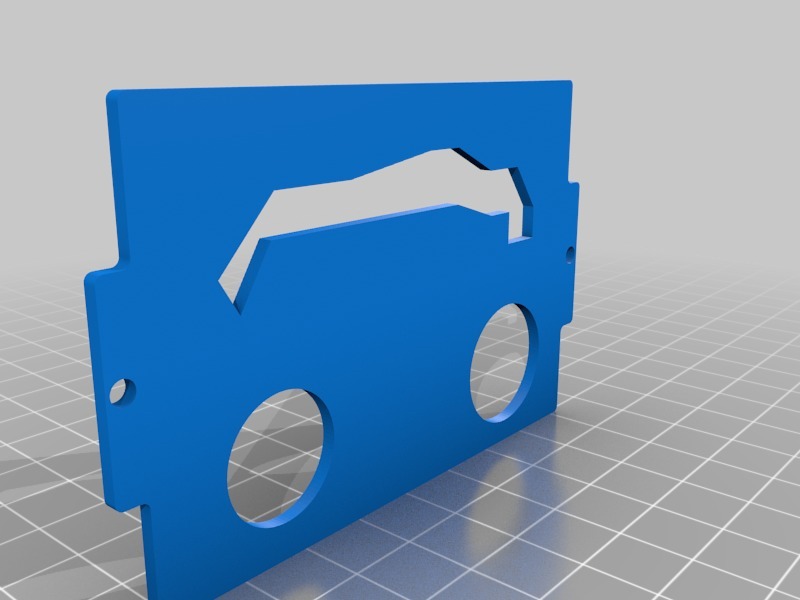
I wanted a garage door opener that I could control with my phone. This project was perfect for learning programming and CAD, which I'm still teaching myself. I found a post on Makezine.com about using a Particle Core to open your garage door with your smartphone. Although the article is a few years old, it seemed like it should still work for what I needed. Plus, I had everything except the Particle Core, so it was perfect. Being new to this project, when I went to Amazon, I found the Particle Photon and accidentally ordered it instead of the Particle Core. Luckily, I discovered that the Particle Photon is pretty much the same thing. Here's a list of things you'll need for the project: To start, print out this box I designed! Here are the project materials. These aren't specifically for this project; they're all items I had lying around from other projects. You can find them on Amazon. • Mini breadboard • Jumper wires • Particle Photon • 2-channel 5V relay To close the box, I used two M3x8mm screws without nuts. I have an assorted M3 screw kit with nuts that I used for this project. I attached it to the garage door opener using random velcro I had lying around. Since it's not heavy, any velcro should work or you can use 3M stickies. It's powered by an old Samsung charger and USB cable plugged into the Photon. The relay jumper is made from 22 AWG braided wire, and the cables connecting the relay to the garage door are the same 22 AWG braided wire with some quick-connect end fittings from this kit. You'll also need the Blynk app on your phone and a Particle.io account. If you're worried about security, you can have your own Blynk server! Setting up the Blynk app: 1. Log in to the app and create a new project. 2. Name it and select the Particle Photon from the drop-down list. 3. It will give you an auth token; have it email it to you so you don't need to remember it, then hit the button to create the project. 4. Tap the screen to open the widget box and click on "button." 5. Change the pin to D0 and hit OK. Next, we'll use the Particle IDE: 1. Create a new project and name it. 2. This is the code I used; you'll see it says "ENTER YOUR AUTH CODE." Find the code in your email and paste it between the quotes. 3. You can find the code here: https://pastebin.com/qWsUd0xi My wiring from the Photon to the relay goes like this: • Red = GND to GND • Orange = IN1 to D0 • Yellow = IN2 to D3 • Green = VCC to VIN The wiring on the relay and to the garage door opener is as follows: • Put a jumper from COM1 to COM2 (common 1 and common 2). • Connect the wires that go to the opener to NO2 and NC1 (normally open 2 and normally closed 1). Connecting to the garage door opener from the relay: • Garage doors are similar but different, so if you only have two wires on the back of yours, connect the NO2 and NC1 wires from the relay to them.

With this file you will be able to print Garage Door Opener with your 3D printer. Click on the button and save the file on your computer to work, edit or customize your design. You can also find more 3D designs for printers on Garage Door Opener.
