GameCube Mini
prusaprinters
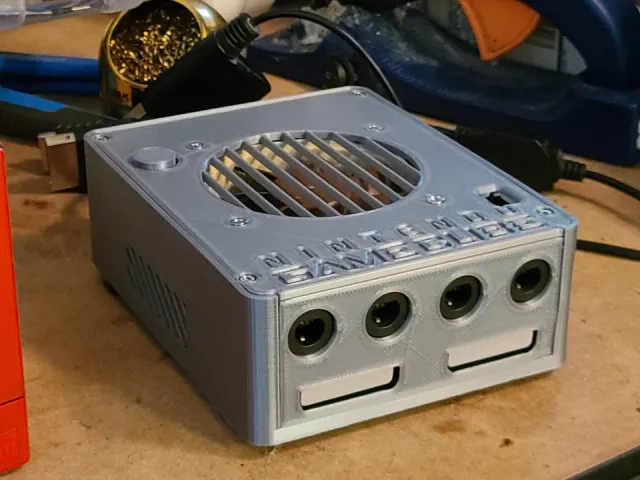
You'll need:Trimmed GC front controller PCBRev. C GC motherboard with DVD and serial ports removedM2 screws and nutsRaspberry Pi Pico with Picoboot FWSoldering ability/skills80mm PC fanAssorted small coarse-threaded screws (1-2mm)4x PC fan screws Helpful hints until I make a guide:The gold Philips coarse-threaded screws that are inside the GameCube are reused for the controller port bracket, power plug bracket, two motherboard holes, and the top cover.The heatsink can be held in place with 6x short M2 screws and nuts very easilyThe cmos battery, reset switch, power LED, and resistor don't NEED to be reintegrated/relocated. You can safely run without them.The vertical square on the port bracket is a (bad) mounting location for the cmos battery, if you choose to reintegrate it (you don't really need to). I just placed the battery behind it and used a heat gun to bend it over the battery.I used 3x 150ohm (I think?) resistors in parallel to take the 12v fan voltage down to 7.5v. A 450ohm resistor worked but it got too hot. I should really find a way to control the fan with PWM or use a potentiometer. Sorry for the sparse instructions, I put it together over a long period of time and don't remember everything that needs to be done. Feel free to message me, and have a look at the youtube video of my build here:
With this file you will be able to print GameCube Mini with your 3D printer. Click on the button and save the file on your computer to work, edit or customize your design. You can also find more 3D designs for printers on GameCube Mini.