Galton Board
prusaprinters
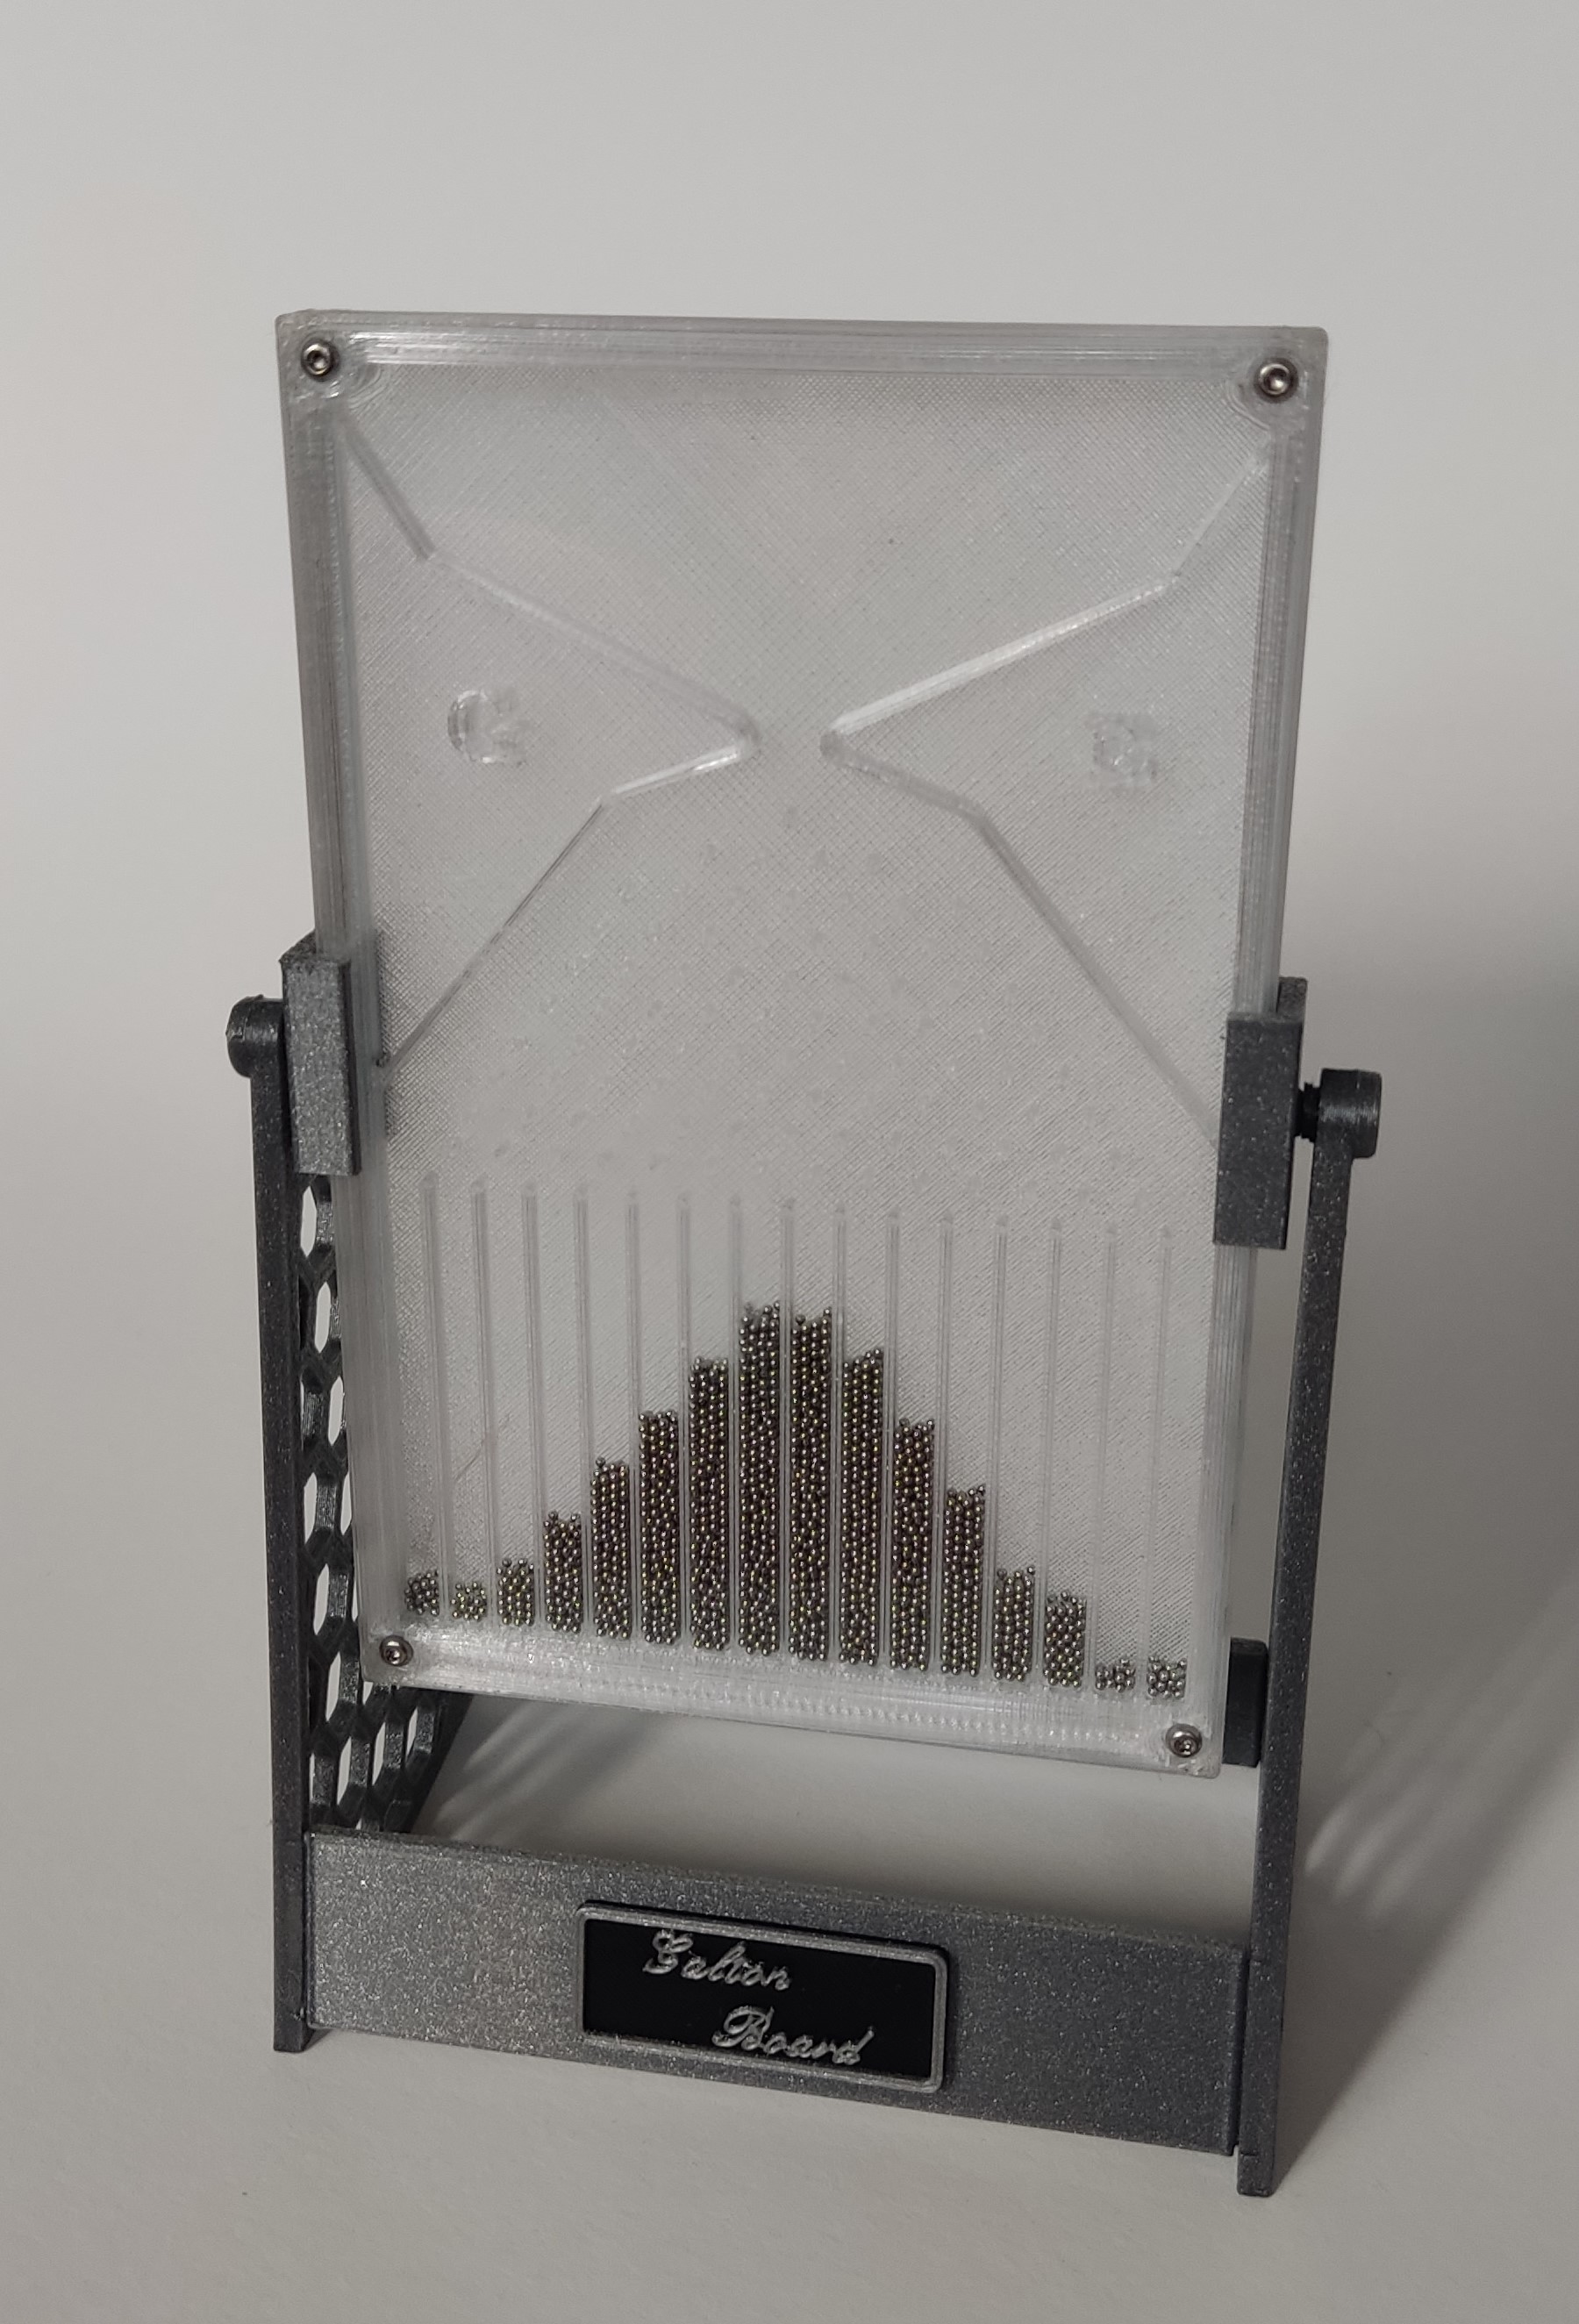
<p>The Galton board, also known as the Galton box or quincunx or bean machine, is a device invented by Sir Francis Galton. </p><p>The Galton board consists of a vertical board with interleaved rows of pegs. Beads are dropped from the top and, when the device is level, bounce either left or right as they hit the pegs. Eventually they are collected into bins at the bottom, where the height of bead columns accumulated in the bins approximate a <a href="https://en.wikipedia.org/wiki/Normal_distribution">bell curve</a>. ( taken from <a href="https://en.wikipedia.org/wiki/Galton_board">https://en.wikipedia.org/wiki/Galton_board </a>).</p><p>Finished model in action: <a href="https://www.youtube.com/shorts/i-hbnG_IKyI">https://www.youtube.com/shorts/i-hbnG_IKyI</a></p><p>What do you need:</p><ul><li>4 M2 - 6 mm screws + nuts </li><li>a 2mm thick plexiglass pane to cover the board (~ 125mm x 81mm). You could also use thicker or thinner panes, but then you should adjust the height of the lid accordingly. </li><li>3000 stainless steel balls with a diameter of 1mm (i bought <a href="https://www.aliexpress.com/item/4001175695365.html?spm=a2g0o.order_list.0.0.21ef5c5faG7Qxe&gatewayAdapt=glo2deu">https://www.aliexpress.com/item/4001175695365.html?spm=a2g0o.order_list.0.0.21ef5c5faG7Qxe&gatewayAdapt=glo2deu</a> from aliexpress)</li><li>2 M2 - 10mm for the stand (optional)</li></ul><p>How to assemble:</p><p>The board (no supports):</p><ul><li>My original design in fusion was much bigger. I scaled it down about 60%. Therefore the holes for the screws are a little to small. Use a 2mm drill top open them up. The cutouts for the nuts on the back should fit for M2 nuts.</li><li>After printing make sure to remove stringing from the pegs (if any) and try not to break them off.</li><li>Cut the plexi to the right size and place on top. </li><li>Add the balls, add the pane, add the cover and screw everything together.</li></ul><p>For the optional stand:</p><ul><li>The board itself has no holes for the stand on the side. You have to find the approx middle of the board and make a small hole yourself. The hole should be big enough to fit the screw, which you use for the stand on the sides.</li><li>The 2 sides and the 2 fronts should fit into each other, but i would add glue to make the connection permanent.</li><li>The front should be printed with support for the sides.</li><li>To have more clearance between the sides and the board, i added some washers. If its not enough: scale the Z height or print one or more for your needs. </li><li>Screw the M2 through the hole of the side, then the washer and then the clamp. The screw should stick out a little to grab the hole of the model.</li><li>The optional name-plate has to be glued to the front. I swapped the filament for a nice contrast.</li><li>If everything is assembled, you can then slide the board over the clamps until the screw gets hold of the hole in board.</li></ul><p>What did i use?</p><ul><li>transparent PETG for the board (my only transparent filament). I wanted to see (not only hear), when the balls are all in the top</li><li>Eryone Silver Galaxy + Black for the stand.</li></ul><p>– </p><p>Todo: Maybe add a german translation :-)</p><p> </p><p> </p>
With this file you will be able to print Galton Board with your 3D printer. Click on the button and save the file on your computer to work, edit or customize your design. You can also find more 3D designs for printers on Galton Board.