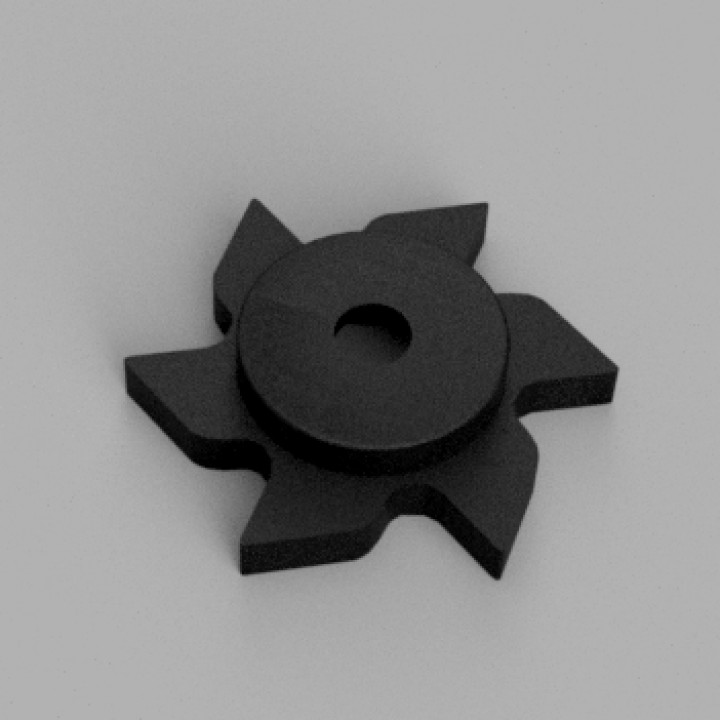
Gaggia MDF Coffee Grinder Cam Gear Replacement
myminifactory
Replacing the cam gears on your Italian-made Gaggia MDF coffee grinder is a straightforward process that can be accomplished with basic tools and a bit of mechanical know-how. Begin by unplugging the machine and allowing it to cool completely, as excessive heat can damage delicate components. Next, locate the cam gear assembly situated at the rear of the grinder, which can usually be accessed by removing a single screw holding it in place. Once removed, you'll find two small gears, one larger than the other, that are connected via a central shaft. These gears work in tandem to rotate the grinding burrs and produce the desired grind consistency. To replace these gears, first, purchase a suitable replacement cam gear kit specifically designed for your Gaggia MDF model. Make sure to acquire high-quality components from reputable manufacturers to ensure optimal performance and longevity. After obtaining the new parts, begin by carefully removing the old gears from the machine using a soft brush or cloth to avoid scratching any surrounding surfaces. Next, take the larger of the two gears, which drives the grinding burrs, and gently pry it loose from its mounting point on the central shaft. This may require some effort, but be cautious not to apply excessive force that could damage other components. Once freed, carefully pull the gear away from the shaft and set it aside. With the larger gear removed, you'll now see a small pin or clip holding the smaller gear in place. Use a small screwdriver or flathead to release this pin, allowing the smaller gear to come free. Gently lift the smaller gear off its mounting point and set it alongside the larger gear. Now that both gears are removed, take the new cam gear kit and begin by installing the smaller gear onto its designated mounting point on the central shaft. Secure it firmly in place using a small clip or pin, making sure not to overtighten. Next, slide the larger gear onto the central shaft, ensuring it's properly seated and aligned with the grinding burrs. Use a soft brush or cloth to wipe away any debris that may have accumulated during removal. Once clean, reattach the larger gear to its mounting point using a small clip or pin, making sure not to overtighten. With both gears securely in place, reconnect the cam gear assembly and replace the screw you removed earlier to secure it in position. Plug in your coffee grinder and test it out by grinding a few beans to ensure optimal performance. Replacing the cam gears on your Gaggia MDF is a relatively simple process that can be accomplished with basic tools and some mechanical know-how. By following these steps, you'll have your machine up and running smoothly in no time.
With this file you will be able to print Gaggia MDF Coffee Grinder Cam Gear Replacement with your 3D printer. Click on the button and save the file on your computer to work, edit or customize your design. You can also find more 3D designs for printers on Gaggia MDF Coffee Grinder Cam Gear Replacement.
