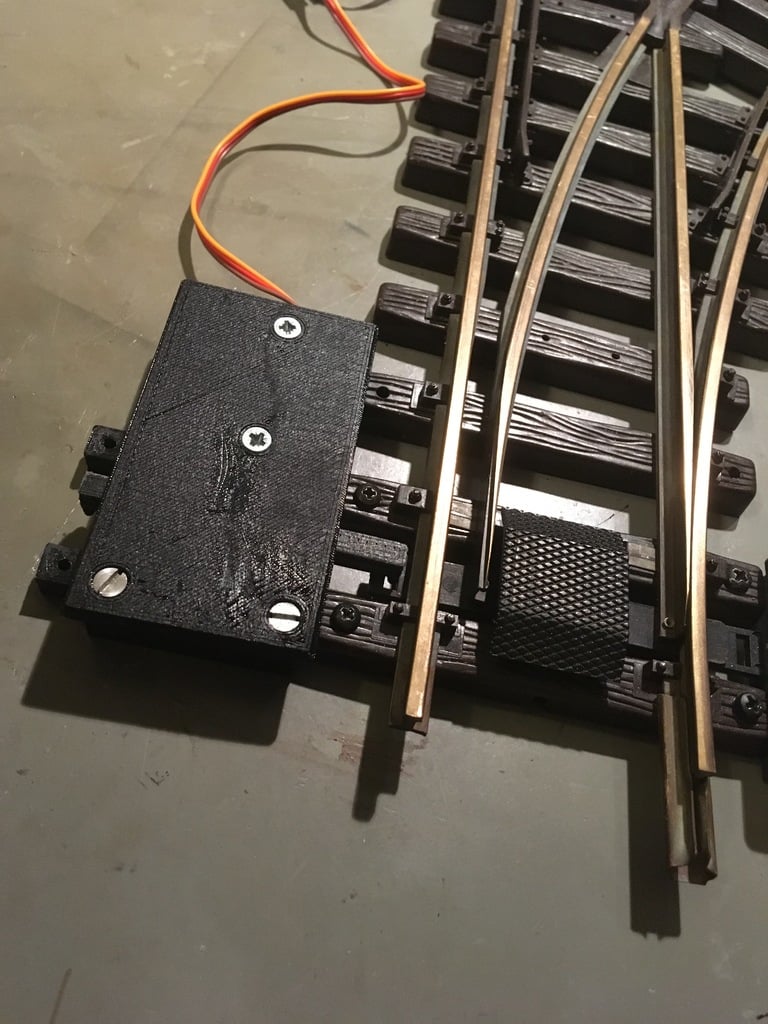
G scale points motor
thingiverse
Here I designed a points motor for LGB turnouts, which may also work with other g-scale brands. It's mountable on both sides of any turnout. The assembly process is quite straightforward: First, clean up all the parts to remove any errors caused by an imprecise printer. I have to do this step myself... Next, attach the pinion to the servo using a hot air soldering iron to warm up the inner part and then press it onto the servo. This method prevents the outer part of the pinion from becoming deformed. Alternatively, you can try drilling a hole slightly undersized and pressing it onto the servo with force. If that doesn't work, you can use superglue; however, be aware that this may cause issues if adjustments are needed later. Now, test all parts without the spring to ensure they move freely but not too loosely, as this could lead to disengagement. The two levers are secured in place with a M3x10 screw and a washer. Once everything is ready, apply some grease to all moving parts while assembling the motor. During testing, hold down the servo as it tries to move upward, which may cause the pinion to disengage from the rack. If the mechanics only work in one direction, you'll need to adjust the pinion on the servo or shift a gear tooth further. A servo tester is very helpful during this step. I use inexpensive 9g servos, as seen in the images, which can be found on Amazon if you're wondering. The spring is made from 0.7mm spring steel wire and bent into a simple tension spring with the right diameter. The length of the arms should be around 10-12mm, as shown in the bend pattern in the images.
With this file you will be able to print G scale points motor with your 3D printer. Click on the button and save the file on your computer to work, edit or customize your design. You can also find more 3D designs for printers on G scale points motor.
