Fusion 360 1:1 Printing
thingiverse
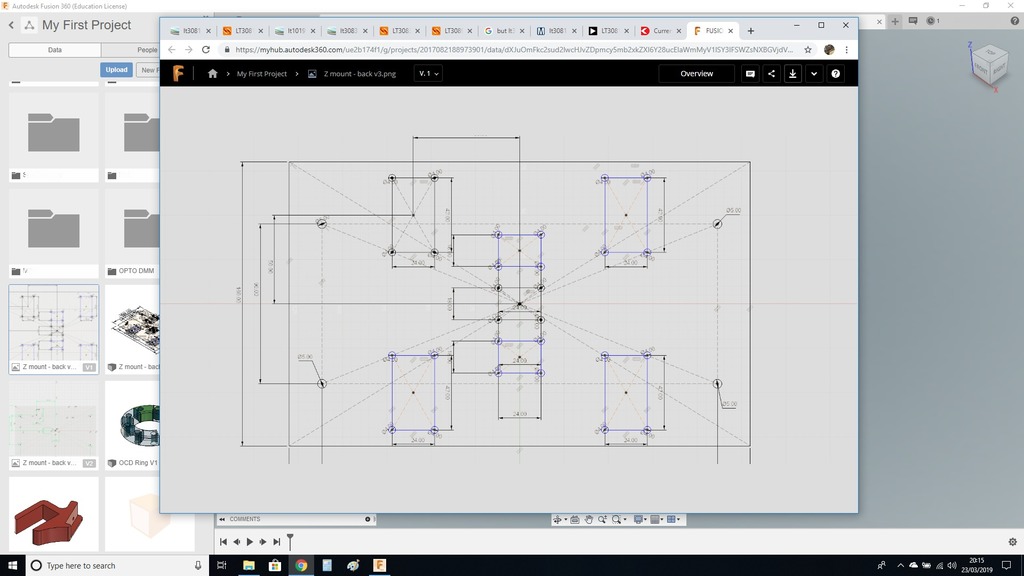
I LOVE Fusion 360! However, there is a feature that I wish existed - the ability to print directly to paper. And even more useful would be the option for 1:1 printing from sketches, such as cross sections. But I finally figured out how to make it happen! Here's what you need to do: 1. Draw a box around the object you want to print, or if your sketch is square, even better! Write down its size, like 100x100 mm. Make sure your sketch fits nicely inside the box. 2. Export your sketch as an image. You can also capture the image from within the modeling environment using a screen capture tool. Just make sure you're capturing it in flat mode. 3. Import the image into MS Paint and crop it precisely to match the dimensions of your box or line. 4. If you prefer, you can use Inkscape instead. It's similar but I'm not too familiar with it myself. 5. Once you've imported the image into Inkscape, select File | Document Properties and choose A4 paper size (or whatever size paper you have). 6. Select the image and set its dimensions in millimeters. Move the scale to the inside of the paper, just like shown in the photo with arrows. 7. Finally, print your design on paper!
With this file you will be able to print Fusion 360 1:1 Printing with your 3D printer. Click on the button and save the file on your computer to work, edit or customize your design. You can also find more 3D designs for printers on Fusion 360 1:1 Printing.
