Funkytown Keypad
thingiverse
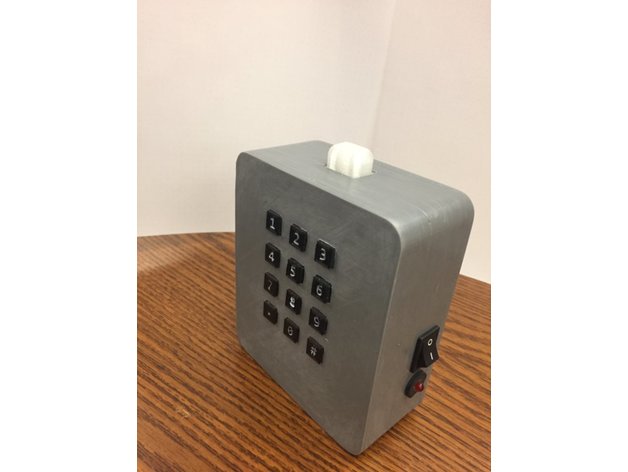
My tribute to Towelie from South Park. Check out this desk toy/paperweight that plays tunes on the keypad. If you play the right melody, it will sing four different parts of Funkytown. I'm sharing all the files - design files too - in case someone is crazy enough to want this. See it in action here. Print Settings Printer Brand: Prusa Printer: Prusa Mk2 Post-Printing Buttons: To assemble ABS buttons, use acetone to solvent weld a button base onto each one. Otherwise, apply CA (super) glue. Place a tiny drop of white paint or whiteout into the button's digit using a toothpick. Then, color over the black part with a sharpie. Case: File any parts that need it to ensure everything fits perfectly. A small screwdriver works great for cleaning up the groove for the lid. Use a utility knife blade as a scraper for the edges or a deburring tool. Circuit: You'll need an Arduino Pro Mini, a LM7805 regulator, a Piezo speaker, 12 tact buttons, one RGB LED (Common Cathode), a Red LED (for power display), a switch, and several resistors. Connect everything: the Arduino Pro Mini, the LM7805 regulator, the Piezo speaker, the tact buttons, the RGB LED, the Red LED, the switch, and the resistors. Don't forget connectors, wire, etc. I'll draw up a schematic later, but it's basically like this: https://randomnerdtutorials.com/diy-3x4-keypad-for-the-arduino-includes-schematics/
With this file you will be able to print Funkytown Keypad with your 3D printer. Click on the button and save the file on your computer to work, edit or customize your design. You can also find more 3D designs for printers on Funkytown Keypad.