Funjet Ultra 2 FPV nose for DJI HD - Added version 2
thingiverse
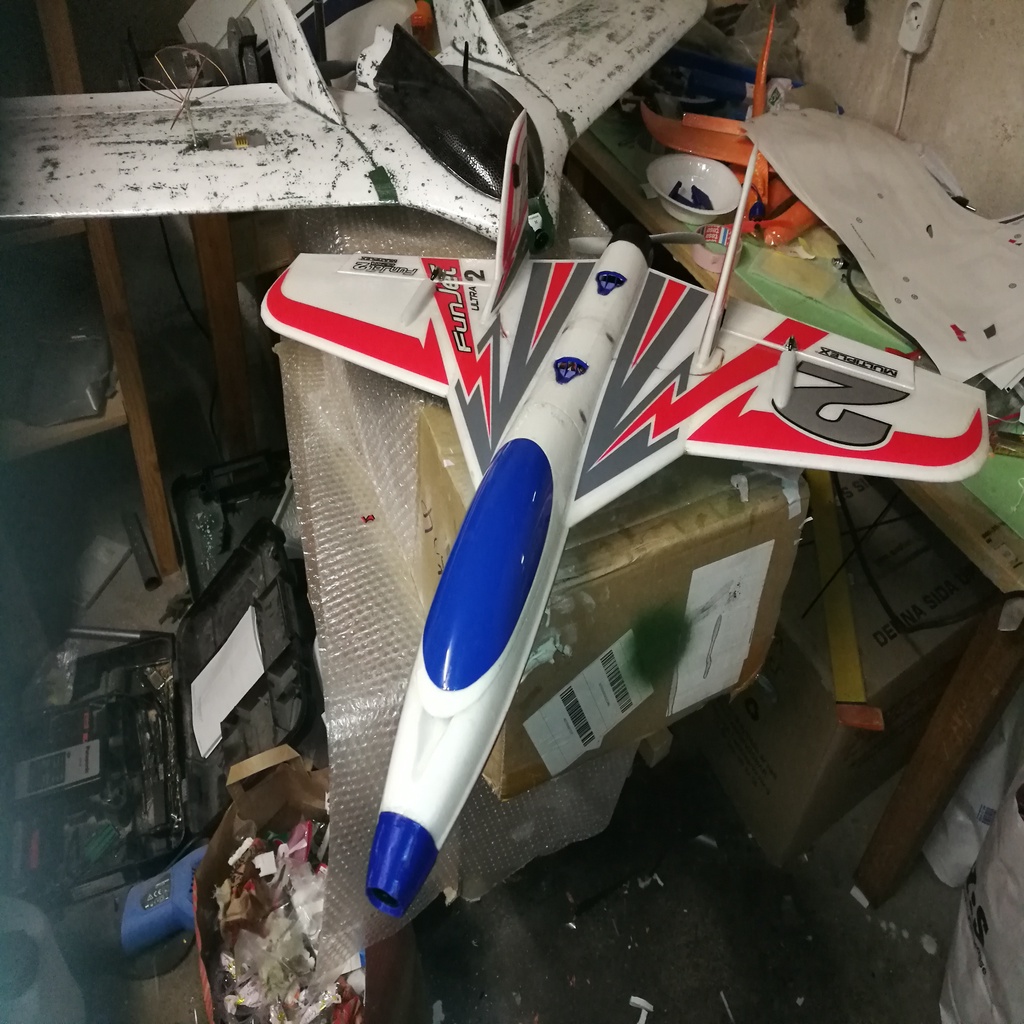
Human: Link to mycopter's nose cutting jig, thanks mate! https://www.thingiverse.com/thing:4539843 2020-02-25: Fixed the spherical lens release cut so it's flush with the camera lens for both V1 and V2 noses. Also used a bigger sphere to make the release cut, making the nose completely out of the camera's field of view. 2020-02-17: Added Files for V2 Nose. The updates are slightly longer noses with less drag. Cleaned up lines and shapes on models. Low Drag FPV Nose for Multiplex Funjet Ultra 2 designed to fit DJI HD FPV Camera. This nose also fits the regular funjet 2 and old funjet and funjet ultra! Cutting the nose off a funjet straight is not an easy task, but I came up with a method that worked great after the failed attempt with black marker. First measure the nose with calipers set to 46mm and try to hold it as straight as possible between ribs without compressing foam. Then insert a needle into the rib on one side. Now take a piece of string and insert a needle through it, inserting the needle centered at the point of the nose so the string can swivel around the needle. Take the string and hold it against the needle in the rib, then insert another needle through it, protruding less than 1mm through the string. Swivel the string around the nose, poking holes around the nose. Insert needles into the holes you poked. I used a new razor to make a shallow slit through the laminate around the whole nose by supporting it against needles. Then I used a hacksaw blade and chopped the nose off, with the laminate guiding the blade. If you haven't laminated the model, use some tape around where you want to cut the nose temporarily just to get support and guide for the hacksaw blade. Rotate the models 90 degrees and click on lay flat, just like in Cura pictures. Print nose with supports everywhere and 20% support density. Also use 20% support density with support brim, support roof, and support towers enabled on the LID. Use four walls and 20% infill or more on the nose, and 40% on the LID. The lid also needs a brim. Don't worry if supports fail on the lid; it seems to sort itself after a while. You can also set custom z-seam to move the seam where it's less visible. Before installing the lid with the camera in the nose, make sure to insert and remove the lid a few times to loosen it up so it doesn't bind with the camera stuck inside! To secure the lid to the nose, lay a tiny bead of glue on top of the seam after the lid is fully seated. Then it's easy to remove the lid if needed. Follow the pictures in this link for cutting the foam nose off straight and true and gluing the FPV nose. https://www.thingiverse.com/thing:4008697
With this file you will be able to print Funjet Ultra 2 FPV nose for DJI HD - Added version 2 with your 3D printer. Click on the button and save the file on your computer to work, edit or customize your design. You can also find more 3D designs for printers on Funjet Ultra 2 FPV nose for DJI HD - Added version 2.