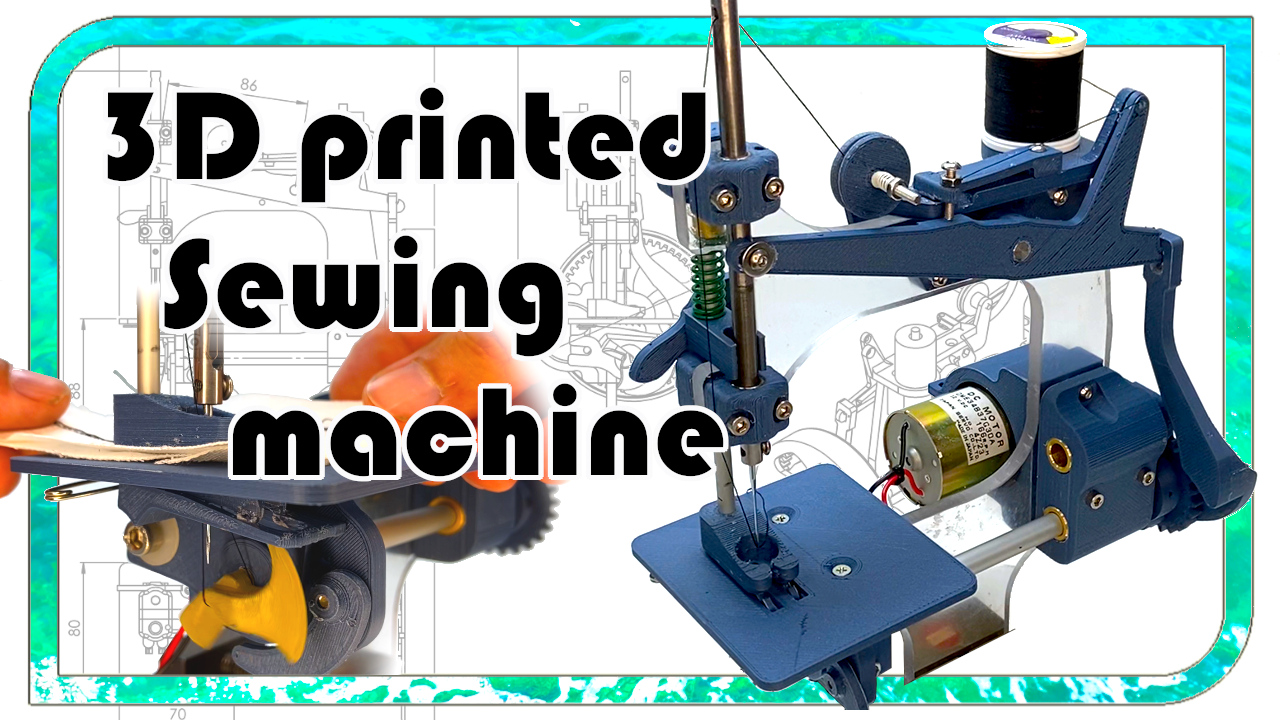
Functioning DIY sewing machine with chain stitch hook
prusaprinters
<p>In this video I build a DIY chain stitch sewing machine. I think it might be the first DIY sewing machine that exists.<br>The sewing machine was originally designed as a hand-operated sewing machine. However, it works much better when powered by a motor. The main point of the sewing machine is the chain stitch hook. The chain stitch hook is the most complicated part of the sewing machine and took me several hours of work. This must be very clean printed and have a smooth surface. I printed the hook in 2 parts. Another challenge is to set the thread tension correctly. Here you have to experiment a bit. If the sewing thread has too little tension, the chain stitch will not be tightened cleanly. A normal sewing machine needle was used. If the machine was adjusted cleanly, it works perfectly.<br>The sewing machine is built with 3D printed parts. However, some shafts and sleeve bearings are needed.<br>You can download all parts on Thingiverse or Prusarprinters.<br>If you like this sewing machine, please give me a heart on Thingiverse. This will improve the ranking and the project will be seen by more people. Thank you!</p><p>Attention: Not all 3D models are available. These will be revised.</p><p>And here the video: </p><figure class="media"><oembed url="https://youtu.be/f2U4lxzaf48"></oembed></figure>
With this file you will be able to print Functioning DIY sewing machine with chain stitch hook with your 3D printer. Click on the button and save the file on your computer to work, edit or customize your design. You can also find more 3D designs for printers on Functioning DIY sewing machine with chain stitch hook.
