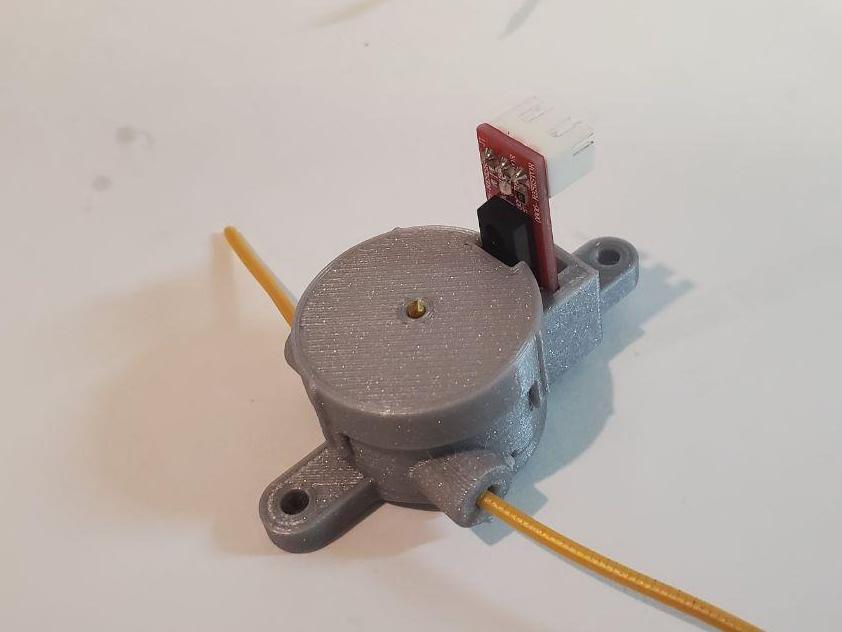
Fully Printed Optical Filament Sensor
thingiverse
This all printed 1.75mm filament sensor with optical endstop. All parts are printed, except for the endstop itself. Works well with transparent filament and one-way movement. I haven't tested its reliability yet. I printed it with PLA but it should work with PETG as well, although I haven't tried that yet. The biggest advantage of this solution is its extremely low resistance to filament movement compared to switch-based filament sensors sold on Amazon. The one I purchased there was quite resistant to filament movement in comparison. Theoretically, since the resistance is low, it should not wear out quickly, but it needs to be tested in practice. I used a HESAI optical endstop from Amazon, but I believe this design should work with any similar product. For this sensor, plug into a regular endstop and an SKR v1.4 board. Set the FIL_RUNOUT_INVERTING setting to false. I think it will be the same for v1.3 boards. Update: I added some parametrization to the case_btm.scad file. Now you can choose where to add the fitting, on either the left or right side, and select different M3 holders. case_btm_fitting_r.stl - bottom case with fitting on the right and M3 holder on the left. Note: There are some missing steps in this guide because I'm tired of dealing with Thingiverse. Some parts were lost during upload, and I couldn't add new sections anywhere except at the end. Here's what you need to do instead: 1. Paint the wheel if your printed plastic is not opaque. A permanent market solution might be the simplest option. 2. Check that a piece of filament goes through the central hole in the wheel. Clean it out if necessary. 3. Put some lubricant on the area where the spring attaches and into the hole. 4. Insert filament and check that the wheel rotates freely when you pull it out. You can plug in the endstop to test its functionality as well. 5. Directly center a piece of filament through the cap's hole, then close it. It should click. Assembly: 1. Print all parts except for the endstop itself. 2. Assemble the sensor with optical endstop and SKR v1.4 board. 3. Set FIL_RUNOUT_INVERTING to false. 4. Test the assembly by inserting filament and checking that the wheel rotates freely when pulled out. 5. Directly center a piece of filament through the cap's hole, then close it. 6. Plug in the endstop to test its functionality.
With this file you will be able to print Fully Printed Optical Filament Sensor with your 3D printer. Click on the button and save the file on your computer to work, edit or customize your design. You can also find more 3D designs for printers on Fully Printed Optical Filament Sensor.
