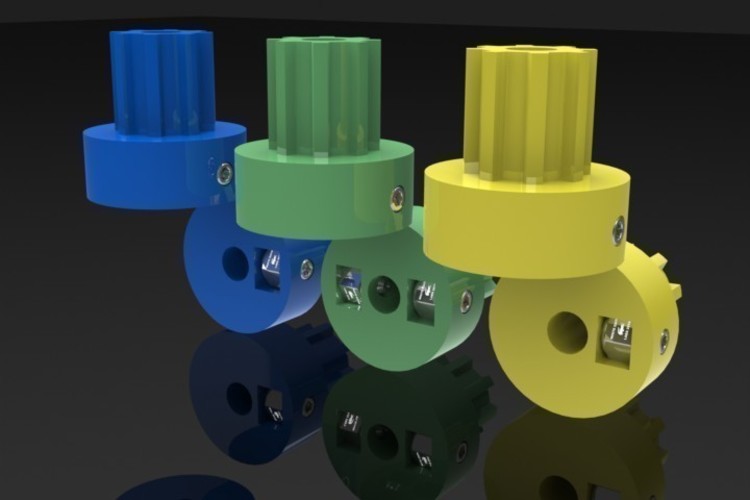
FULLER LOCK PULLEY
pinshape
Derivative Work from Nophead's and Adrian's Pulleys: A Solution to Set Screw Reliability Issues Reasons Behind Poor Print Quality: The Set Screw Can Come Loose After Long Prints, Causing Inconsistent Results. This Problem Appears to Be Unique to My X Pulley Design. New Variations on Nophead's Pulley Design Incorporate the Following Features: 1) Solidworks History Tree for Improved Design Integrity 2) Solidworks Assembly File for Easy Modification and Customization 3) Replacement of M3 Nut with a Nylon Locking Nut, Eliminating the Need for Locktight Adhesive 4) Enhanced Holding Strength Through Strategic Placement of the Nut 5) A 60-Degree Angle for Better Grip on the Nut (No Rectangular Extrusion Hole) 6) Direct Replacement for Nophead's Original Pulley Design 7) Three Options to Choose From: Single Locknut, Double Locknut, or Single Locknut with Over-Sized Locknut Hole (Experimental) Instructions for Assembly: 1) Print the Chosen Pulley Design 2) Ream the Holes to the Desired Dimensions (5mm and 3mm) 3) Install the Nylon Locking Nut 4) Screw in the Set Screw Until It Reaches the Nylon Insert 5A) Mix JB Weld, Apply to the Top of the Screw, and Spin Until Secure. Add More JB Weld If Necessary. 6) Let Dry for a Couple of Hours 7) Tighten Down for Trouble-Free Prints
With this file you will be able to print FULLER LOCK PULLEY with your 3D printer. Click on the button and save the file on your computer to work, edit or customize your design. You can also find more 3D designs for printers on FULLER LOCK PULLEY.
