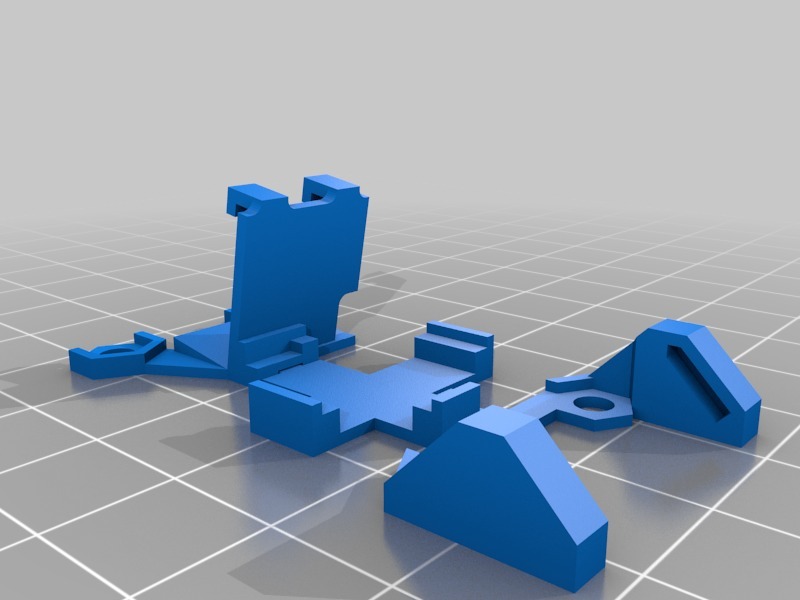
FT Gremlin Femto F3/Camera/Buzzer/LED mount
prusaprinters
<p>After reading a great tip by 8Bit_koopa in the Flitetest Forums <a href="http://forum.flitetest.com/showthread.php?33056-Flitetest-DIY-Gremlins&p=351391&viewfull=1#post351391">http://forum.flitetest.com/showthread.php?33056-Flitetest-DIY-Gremlins&p=351391&viewfull=1#post351391</a> I decided to modify my original Femto F3 Camera Mount to add the sweet HGLRC Micro WS2812B Buzzer/LED combo he found.</p> <p><a href="https://www.amazon.com?linkCode=ll2&tag=thingiverse09-20&linkId=e4759bff1fa9a55a0f897d801ce2d765&language=en_US&ref_=as_li_ss_tl"> </a><a href="https://www.amazon.com?linkCode=ll2&tag=thingiverse09-20&linkId=e4759bff1fa9a55a0f897d801ce2d765&language=en_US&ref_=as_li_ss_tl"> Amazon</a> Link :https://www.amazon.com/gp/product/B072X9H3B2/ref=oh\_aui\_detailpage\_o05\_s01?ie=UTF8&psc=1</p> <p>While I was at it, I split the mount into two pieces to allow for easier installations on finished Gremlins. Having the back piece separate, allows you to easily slide it under the flight controller. Finally, I opened up the areas under the flight controller to allow for the new LED/Buzzer wiring and also to remove some weight to counteract the addition of the angled mounts out back.</p> <h3> Print Settings</h3> <p><strong>Printer Brand:</strong></p> <p>Prusa</p> <p><p class="detail-setting printer"><strong>Printer: </strong> <div><p>Prusa Mk2</p></div><strong>Rafts:</strong></p> <p>No</p> <p><p class="detail-setting supports"><strong>Supports: </strong> <div><p>Yes</p></div><strong>Resolution:</strong></p> <p>.20</p> <p><p class="detail-setting infill"><strong>Infill: </strong> <div><p>20%</p></div></p> <p><strong>Notes:</strong></p> <p>As on my original, supports are required. Take care removing them from your print as it is lightweight and delicate.</p> <p>Sadly, I haven't had time to calibrate my MK2S so I am not able to print this in place as it was designed. Instead, I printed as two separate pieces and it fit back together nicely once mounted to the Gremlin.</p> <h3> Post-Printing</h3> <p><strong>Printed as two seperate pieces</strong></p> <p>Again, please disregard all the strings, I haven't yet dialed in this new Hatchbox Black PLA. Once those are pulled off, it really is a nice print.</p> <p>This was intended to be a "print in place" design so I've included the combined STL as well as separate files for the front and rear pieces.</p> <p><strong>Ready to fly</strong></p> <p>Having the Buzzer is a really life-saver! These things quickly vanish in even the shortest grass so it is nice to have a mode switch on my transmitter to toggle the buzzer on and off to help locate.</p> <p>I also REALLY appreciate the automatic low battery warnings it gives you via Betaflight!</p> <h3> How I Designed This</h3> <p><strong>Fusion 360</strong></p> </p></p></p> Category: R/C Vehicles
With this file you will be able to print FT Gremlin Femto F3/Camera/Buzzer/LED mount with your 3D printer. Click on the button and save the file on your computer to work, edit or customize your design. You can also find more 3D designs for printers on FT Gremlin Femto F3/Camera/Buzzer/LED mount.
