FT-5 CoreXY Conversion
thingiverse
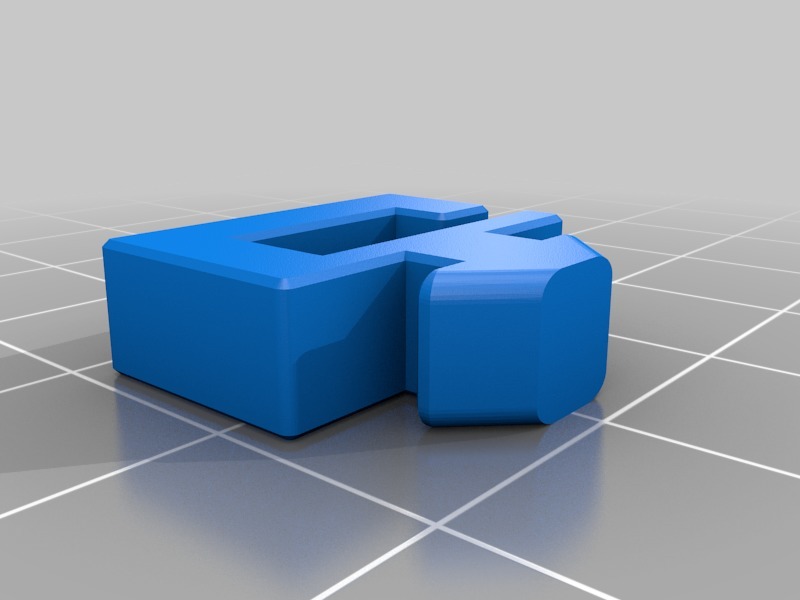
This is my 2nd CoreXY conversion on the FT-5 R1. All the parts are printed with PETG using the Original Prusa I3 MK3. An M3 assortment set will be perfect for assembling them. Additionally, an M5 10mm bolt and hammer nut are needed to attach them to the 20x20 aluminum extrusion. M3 nylock nuts are used to secure the X linear rail on the Y carriage. Fan duct: https://www.thingiverse.com/thing:1519726 Cross bar removal: https://www.thingiverse.com/thing:2233486 Dial indicator holder: https://www.thingiverse.com/thing:2950333 Bolt embedded knob: https://www.thingiverse.com/thing:2853001 Here are the videos showing how I upgraded it and the final result. https://www.youtube.com/watch?v=KkuP63rTwWs&t=49s https://www.youtube.com/watch?v=XDcGbSpI4e8&t=125s https://www.youtube.com/watch?v=IDM5i-JQAKo&t=33s https://youtu.be/ZYxyn9ONZCY https://www.youtube.com/watch?v=E846YvdZCR8 : solved crack issue
With this file you will be able to print FT-5 CoreXY Conversion with your 3D printer. Click on the button and save the file on your computer to work, edit or customize your design. You can also find more 3D designs for printers on FT-5 CoreXY Conversion.
