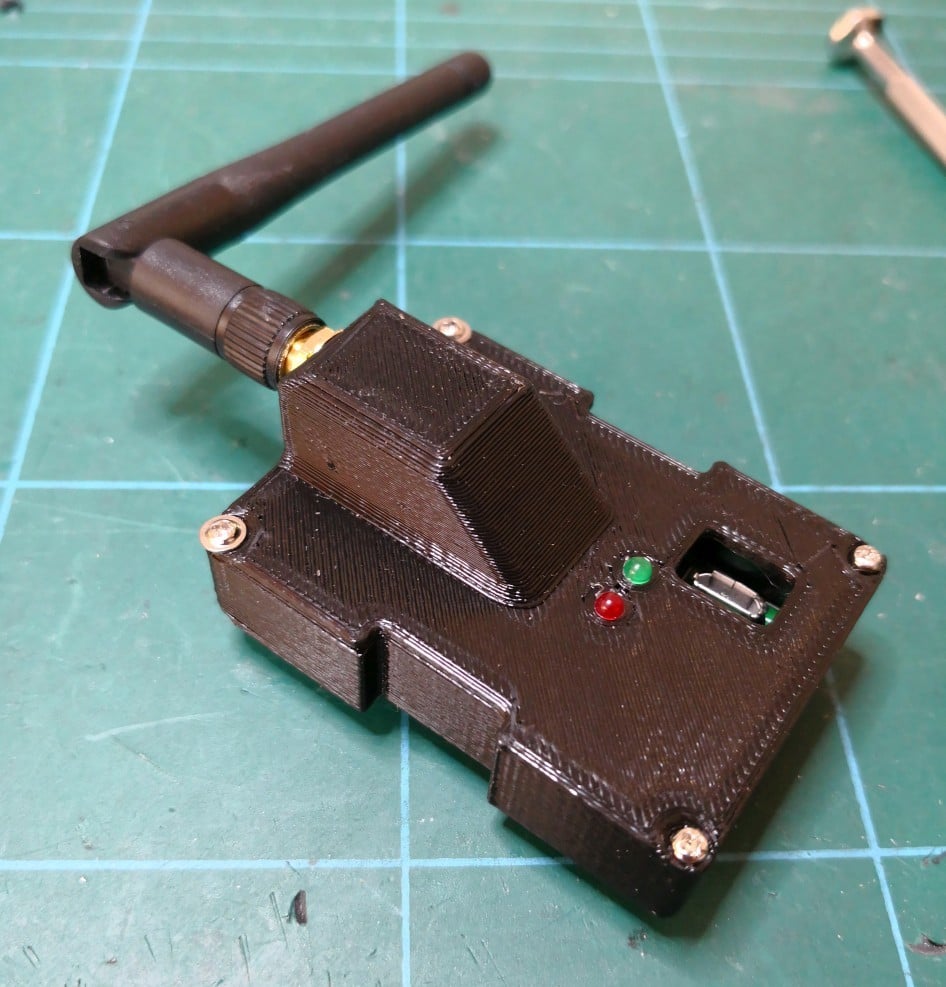
FrSky X-Lite cases for popular external module boards
thingiverse
Module cases for FrSky X-Lite radio. The principle remains: - Print a module carrier with precision, utilizing a 0.15mm nozzle. - Print the case and cover for your module (R9M, Banggood AVR 4-in-1, Banggood ARM 4-in-1 supplied), less emphasis on detail (I used 0.25mm). - Secure the carrier to the case with CA glue, ensuring wires pass through the hole. - Create a wire harness using pin headers, noting that the order aligns with the X-Lite as it does on a JR module (refer to the picture for clarity). - Apply clear tape inside the module slot of the Xlite to prevent the header from adhering; insert the header onto the X-Lite connector and apply hot glue to the module carrier. Assemble carefully, allowing it to cool before removing. - Install the module and antenna pigtail (design anticipates removal of protruding components such as the bind button, rotary selector, and pins on the BG ARM module, except for ISP pins on the AVR one, switch/LED board, and all pins on R9M). The variation in cases lies primarily in height, clearances, and hole positions.
With this file you will be able to print FrSky X-Lite cases for popular external module boards with your 3D printer. Click on the button and save the file on your computer to work, edit or customize your design. You can also find more 3D designs for printers on FrSky X-Lite cases for popular external module boards.
