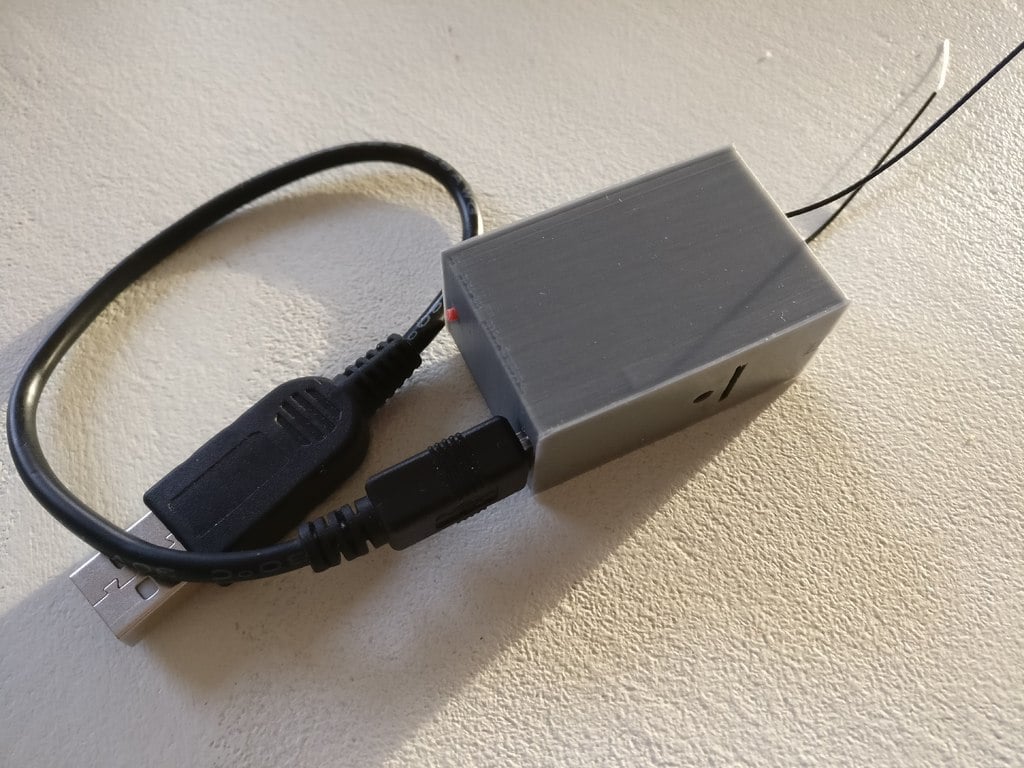
FrSky R-XSR to Arduino Nano to PC to Simulator
thingiverse
This is a compact box for the Arduino Nano and the R-XSR FrSky Receiver. I use this instead of connecting my Taranis via USB to the Computer to play in Simulator(s). This way, you don't need to have the annoying USB cable connected when playing. Very convenient! Tip: You can use two small pieces of 1.75mm filament to "lock" the lid (the red dots in the pictures... :) Hardware used: The FrSky [R-XSR Receiver](https://www.banggood.com/FrSky-R-XSR-Ultra-SBUS-CPPM-D16-16CH-Mini-Redundancy-Receiver-1-5g-for-RC-Multirotor-FPV-Racing-Drone-p-1186057.html?rmmds=search&cur_warehouse=CN) The [Arduino Nano](https://www.banggood.com/ATmega328P-Nano-V3-Controller-Board-Compatible-Arduino-p-940937.html?rmmds=search&cur_warehouse=CN) Software used: Virtual Joystik [vJoy](http://vjoystick.sourceforge.net/site/index.php/download-a-install/download) vJoy Plugin [vJoySerialFeeder](https://github.com/Cleric-K/vJoySerialFeeder/releases) You must follow the guidelines on [vJoySerialFeeder](https://github.com/Cleric-K/vJoySerialFeeder) to get this to work. If you are using the normal SBUS-Out pin (green wire) in the socket for your R-XSR, you need to flash the [Un-invert-SBUS-Sketch](https://github.com/Cleric-K/vJoySerialFeeder/blob/master/Arduino/Sbus_invert/Sbus_invert.ino) to your Arduino and connect the SBUS-signal to D3! If you are using the UN-Inverted version of the SBUS signal, you can go ahead and use RX pin. Make sure your Arduino is "empty", you will basically use it just as a UART converter.
With this file you will be able to print FrSky R-XSR to Arduino Nano to PC to Simulator with your 3D printer. Click on the button and save the file on your computer to work, edit or customize your design. You can also find more 3D designs for printers on FrSky R-XSR to Arduino Nano to PC to Simulator.
