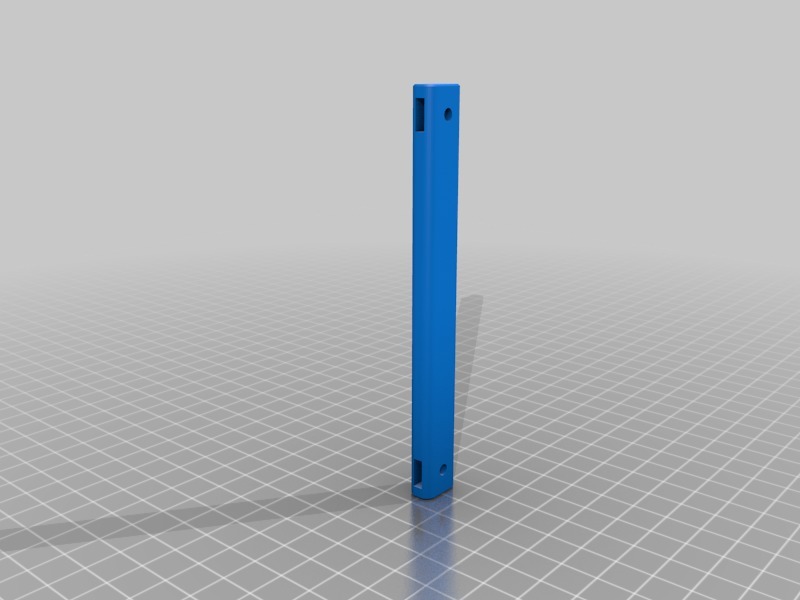
Frsky Horus X12S handlebar
thingiverse
The Frsky Horus X12S is a high-performance remote control system that requires minimal maintenance. However, when it does need repair or upgrade, replacing the handlebar can be a straightforward process. To replace the handlebar on your Frsky Horus X12S, follow these steps: 1. Gather the necessary tools and components: * New handlebar * Screws (usually included with the new handlebar) * Torx screwdriver (for removing the old handlebar) 2. Remove the old handlebar: * Locate the screws that hold the old handlebar in place. * Use a Torx screwdriver to remove these screws. * Gently pull the old handlebar away from the remote control. 3. Install the new handlebar: * Take the new handlebar and align it with the remote control's mounting points. * Insert the screws into the corresponding holes on the remote control. * Use a Torx screwdriver to tighten the screws securely. 4. Test the new handlebar: * Make sure the new handlebar is properly secured before testing it out. * Perform a few test flights to ensure everything is working smoothly. By following these simple steps, you can easily replace the handlebar on your Frsky Horus X12S remote control system.
With this file you will be able to print Frsky Horus X12S handlebar with your 3D printer. Click on the button and save the file on your computer to work, edit or customize your design. You can also find more 3D designs for printers on Frsky Horus X12S handlebar.
