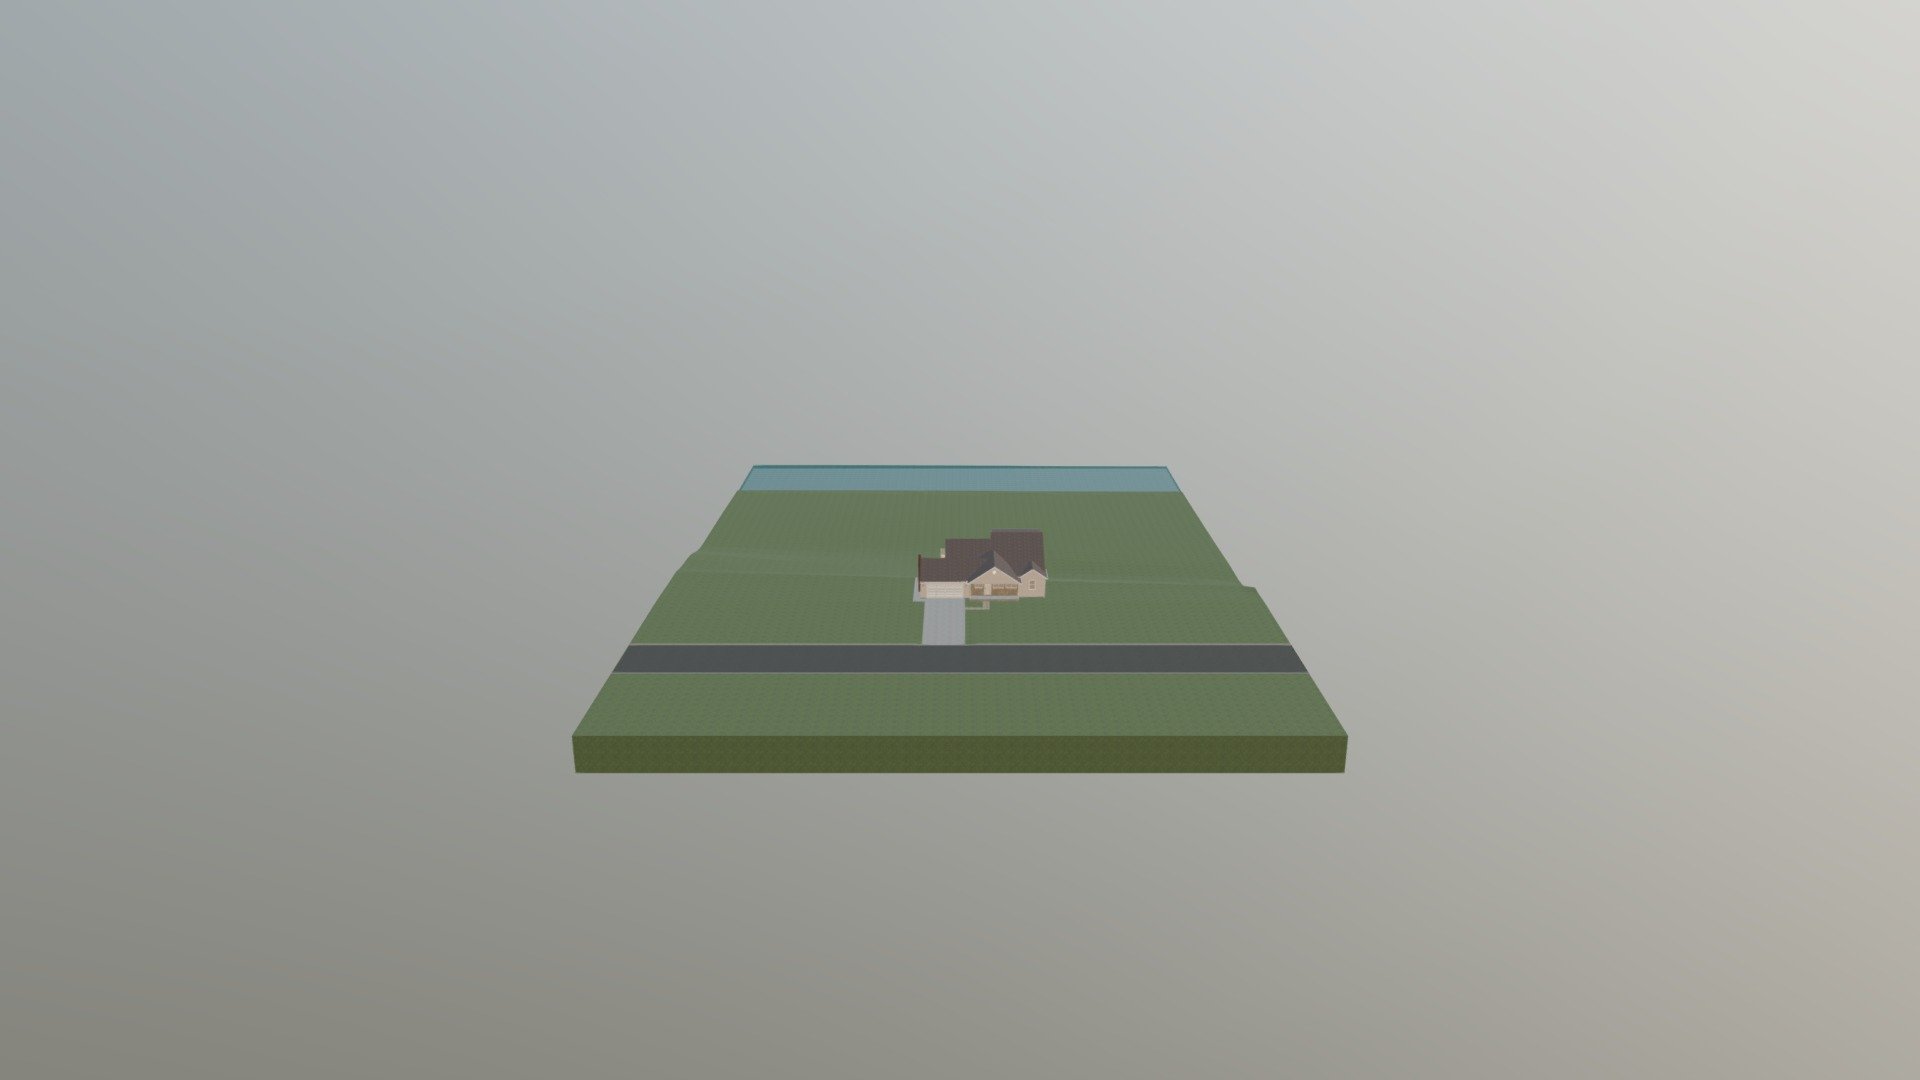
Front Addition Shed Roof2
sketchfab
Adding a front addition to a shed roof is a straightforward process that involves expanding the existing structure to include more space while maintaining its original slope and design. First, assess the shed's current layout, taking note of the location of any supporting beams or posts. Next, plan the new addition, considering factors such as size, material, and style, to ensure it complements the existing building. To begin construction, prepare the site by clearing away any debris and leveling the ground. Then, frame the new section using lumber that matches the original shed's materials, taking care to align the rafters and supports with the existing structure. Install roofing felt and shingles on the addition, ensuring a watertight seal and matching the pattern of the original roof. Finish the interior by installing drywall, trim, and flooring, making sure to blend the new space seamlessly into the existing area. Finally, paint or finish the exterior to match the shed's original color scheme, creating a cohesive look that enhances the overall appearance of the property.
With this file you will be able to print Front Addition Shed Roof2 with your 3D printer. Click on the button and save the file on your computer to work, edit or customize your design. You can also find more 3D designs for printers on Front Addition Shed Roof2.
