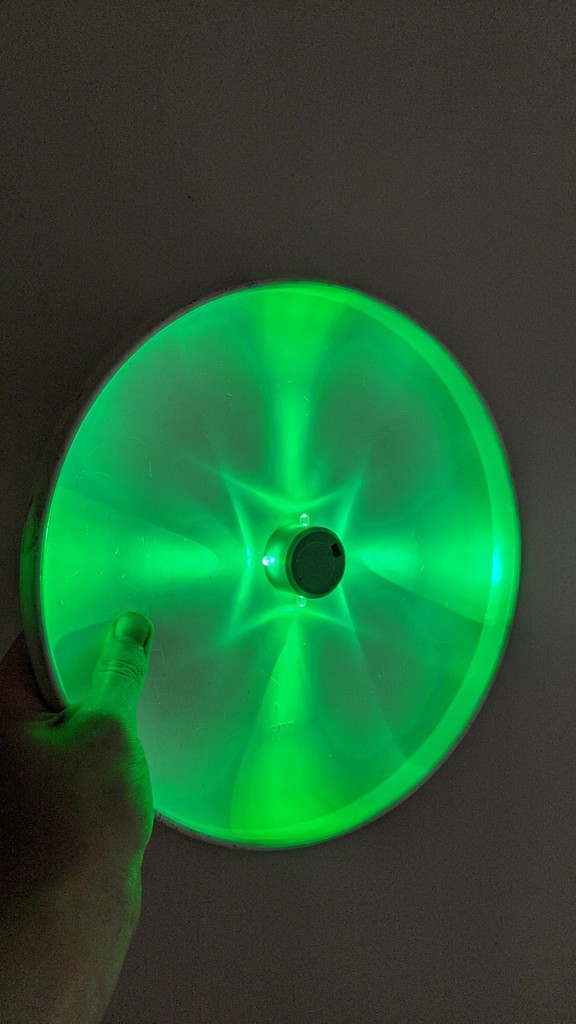
Frisbee magnetic light
thingiverse
### Turn your regular ultimate frisbee into glowing one This is my weekend DIY project and first design upload on Thingverse. It's a box with 4 LEDS powered by battery which can be easily attached to the disk with magnets. No need for glue. Lid for battery replacement. It is perfect if your want to throw disk in darkness. It takes 1 hour and basic soldering skills to assemble it. You would need: - 2 magnets 3x15mm - 4 LEDs 5mm - 4 resistors - 1 CR2032 battery - 1 [battery socket](https://www.amazon.de/-/en/Portable-General-Battery-Adapter-Container/dp/B07MJG6XZR/ref=sr_1_4?dchild=1&keywords=cr2032+halter&qid=1614460043&sr=8-4) - 1 [switch](https://www.amazon.de/-/en/Horizontal-Switch-Assembly-Soldering-Format/dp/B07LBPDB6S/ref=psdc_2076402031_t3_B07Z4RW9X6) I attached assembling scheme image and Sketchup project file (you need to scale model for 0.5 before printing). LEDs are connected parellel. I soldered short leg (ground) of each LED to short led of LED to the right, so all ground legs are connected together. Resistors are soldered to longer legs (power) of LEDs and all they are soldered together in the middle of box. Hopefully you can clearly see that on attached pics. Use one of online calculators to get your resistor resistance. CR2032 gives your 3V voltage. My green LED operates within 3-3.2V and my orange LEDs requires voltage 2-2.3V. So I used 5 Om and 47 Om resistors corresponding. To attach this light box to the disk, you would need to place the disk between magnets. That means you should use quite strong magnets, so box won't slide while you throw the disk. Let me know if you have any questions or you have some ideas or feedback. ### NOT FOR SALE!
With this file you will be able to print Frisbee magnetic light with your 3D printer. Click on the button and save the file on your computer to work, edit or customize your design. You can also find more 3D designs for printers on Frisbee magnetic light.
