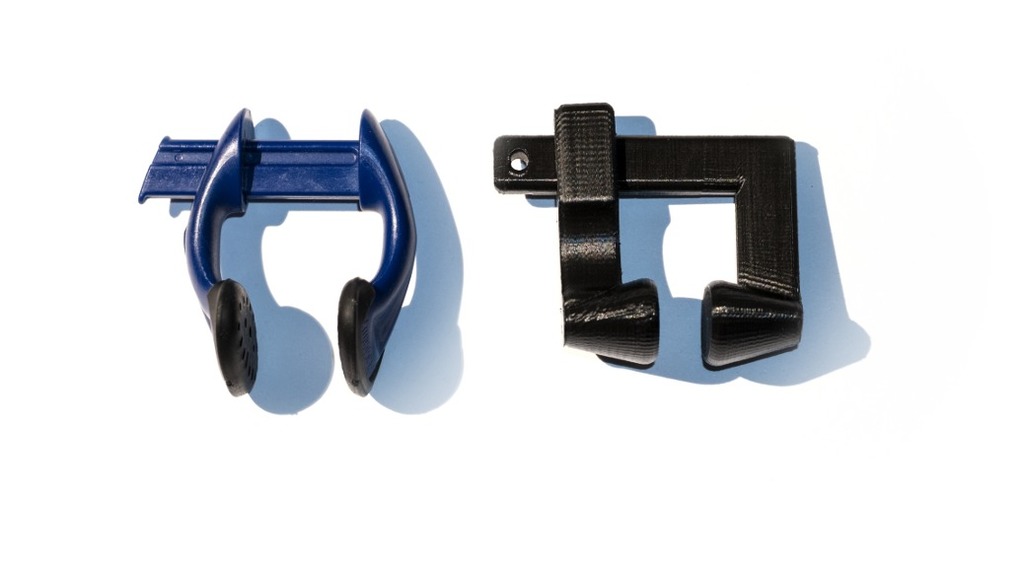
Freediving nose clip
thingiverse
Here's a DIY nose clip that you can create using a 3D printer. To start, you'll need to design the clip itself. You can use a software like Fusion 360 or Tinkercad to create a design that fits your needs. The design should include a curved base to fit comfortably on your nose, and a pair of arms that can be adjusted to fit snugly around your nostrils. The arms should also have a slight curve to them, so they can fit comfortably against the sides of your nose. Once you've designed the clip, it's time to print it out. You'll need to use a 3D printer that has a high level of detail and accuracy, as well as a decent amount of space to move around while printing. A good starting point would be to use a printer with a resolution of at least 100 microns. Once the clip is printed, you can start assembling it. This will typically involve gluing or screwing the arms together, depending on the design of your clip. Make sure that the arms are securely attached and won't come loose while in use. With the clip assembled, it's time to test it out. Try wearing it while swimming or diving to see how well it works. You may need to make some adjustments to get a comfortable fit, but with a little practice, you should be able to get used to wearing it. Overall, creating a 3D printed nose clip is a great way to improve your freediving skills and stay safe while in the water. With a little creativity and technical expertise, you can create a custom-fit nose clip that works perfectly for you.
With this file you will be able to print Freediving nose clip with your 3D printer. Click on the button and save the file on your computer to work, edit or customize your design. You can also find more 3D designs for printers on Freediving nose clip.
