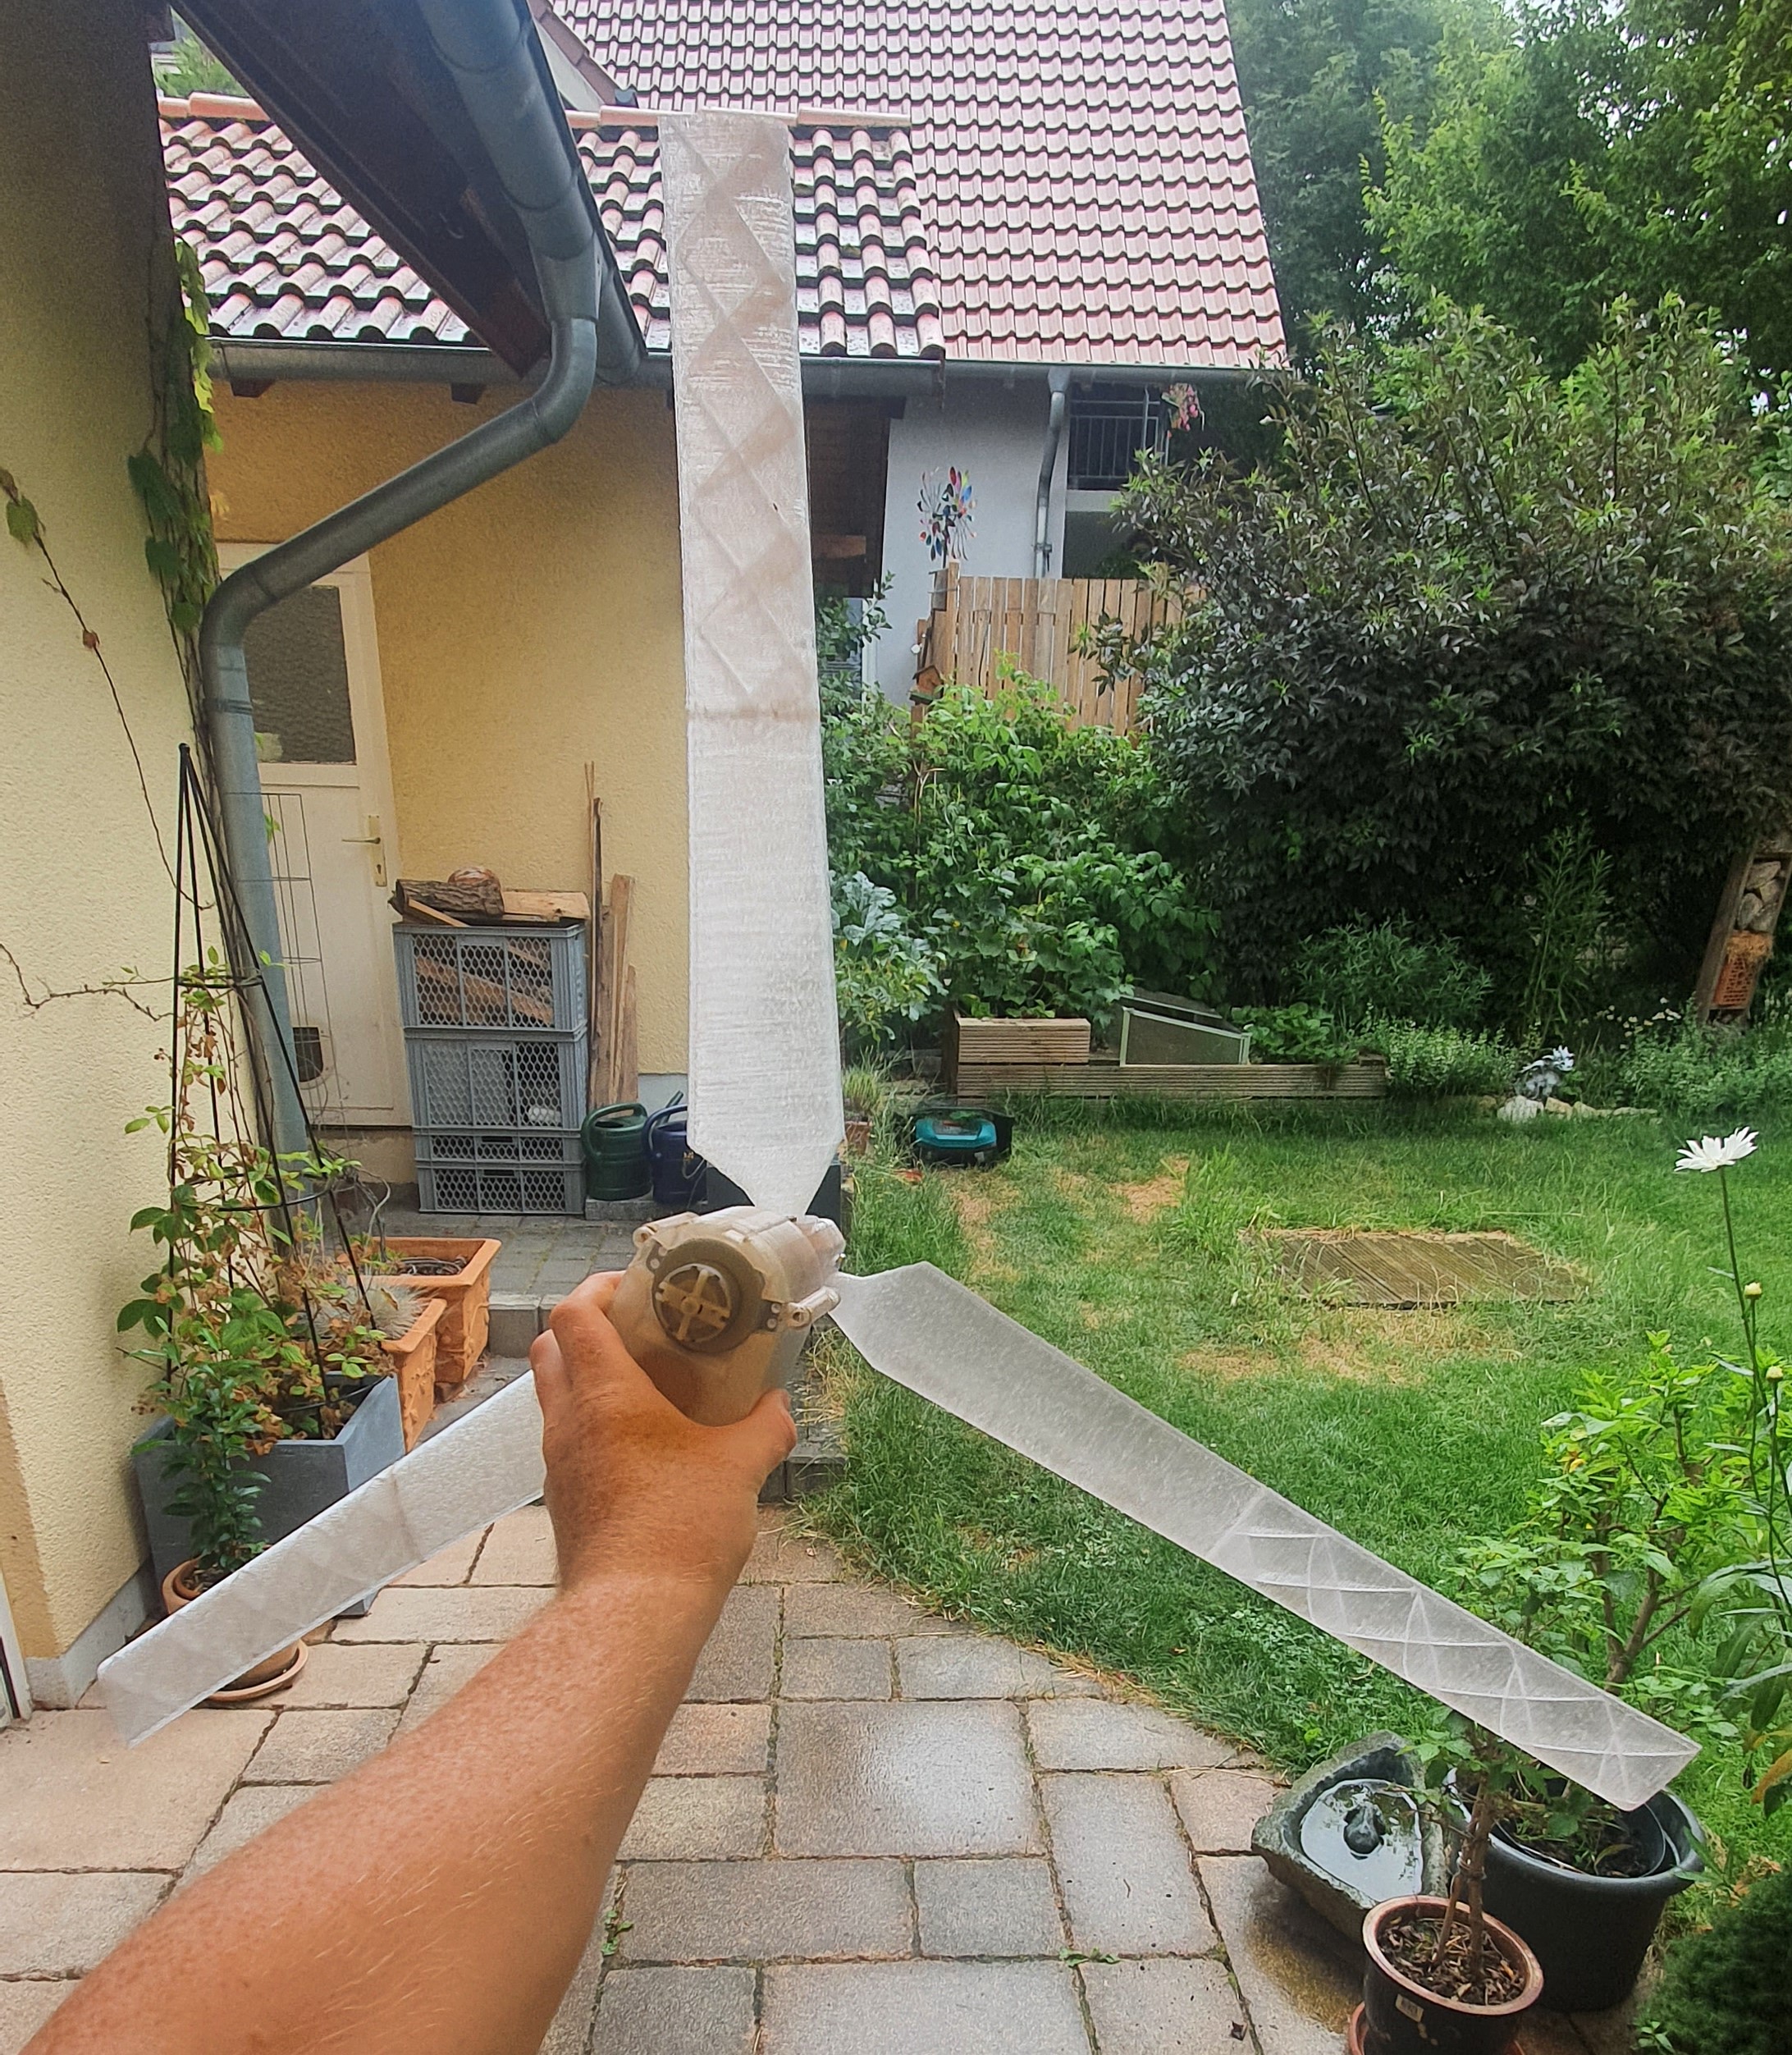
Freds Wind Generator V1 (working but unfinished)
prusaprinters
<p><strong>First:</strong> This is not the finished version, positioning fins, waterproofing and a mounting option are still missing but the reddit community wanted it anyways.</p><p>As of now I allready put several kg of material and many design and research hours into the project so consider leaving a like :)</p><p> </p><p><strong>Parts list:</strong></p><p>4 x Ball bearings 62202-2RS</p><p>1 x Motor <a href="https://www.amazon.de/gp/product/B078S6CQ21/ref=ppx_yo_dt_b_asin_title_o05_s00?ie=UTF8&psc=1">https://www.amazon.de/gp/product/B078S6CQ21/ref=ppx_yo_dt_b_asin_title_o05_s00?ie=UTF8&psc=1</a></p><p>8 x M4 threaded inserts + screws</p><p>9x M3 threaded inserts + screws</p><p> </p><p><strong>How to Print:</strong></p><p>I used PLA for the gears and PETG for all the other parts</p><p>You can print most of the parts the way it works best for you but don`t use too much perimeters or infill since reducing the rotating mass safes energy.<br><strong>The blades however</strong> should really be as light as possible. I used:</p><ul><li>1 perimeter </li><li>0.8mm Nozzle </li><li>Infill 4-8%</li><li>(Only for Blade-1): 14-16 <strong>initial</strong> bottom layers (worth it for a real solid foundation) </li><li>(Only for Blade-1): 1 bottom layer</li></ul><p>You see on the images htat I only printed the upper blade part with Infill but I recommend doing it for both. Infill on the body parts can be chosen a bit higher since they don`t move and make for a better center of mass that way.</p><p> </p><p>I printed on an Artillery Genious Pro and used Cura 5.0 to slice</p><p> </p><p><strong>Assembly:</strong></p><p>press-fit the bearings into the 35mm holes.</p><p>use a soldering Iron to fit the M3 inserts into the blade hub and the M4 inserts into holes surrounding the “mid” part.</p><p>Use a soldering Iron or an other an other way of your choice to melt the two blade parts together.</p><p>Then put together the hub and the front part and use some screws and nuts to secure the motor in the back part. Then put the gears where they belong (sccording to their names) and screw the housing together. At last screw in the blades since they will be the most fragile part of the build.</p>
With this file you will be able to print Freds Wind Generator V1 (working but unfinished) with your 3D printer. Click on the button and save the file on your computer to work, edit or customize your design. You can also find more 3D designs for printers on Freds Wind Generator V1 (working but unfinished).
