FrankenCNC
prusaprinters
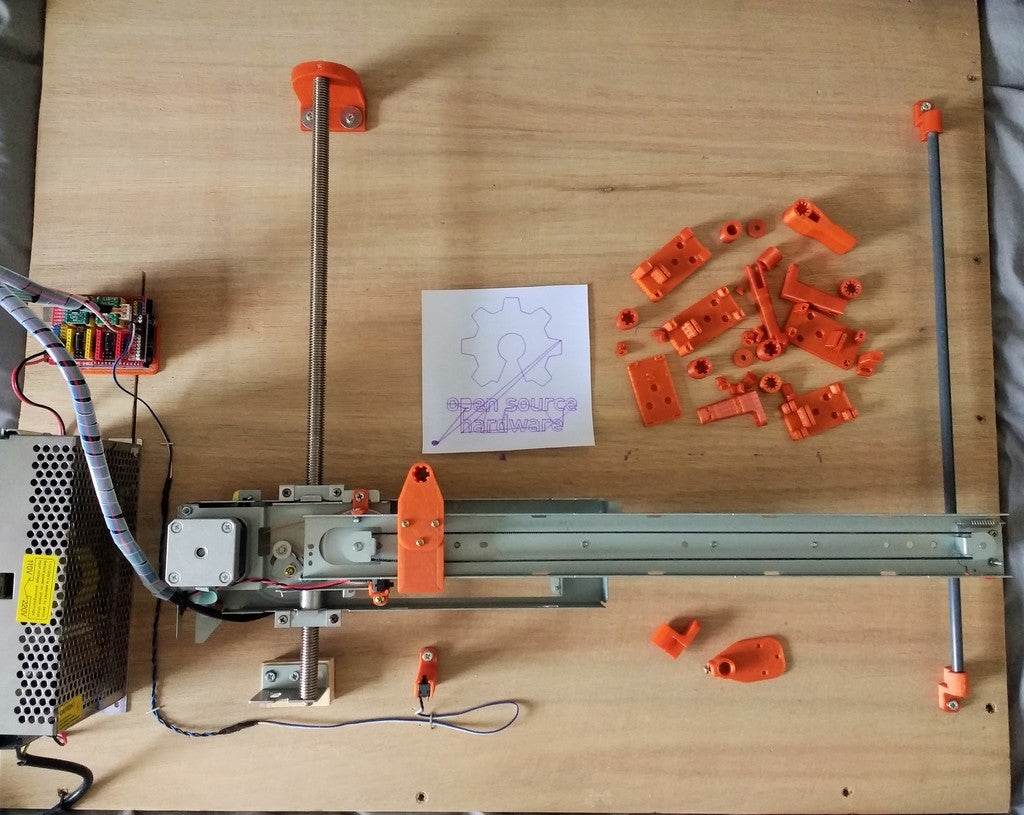
<p>This is a small CNC made from E-waste, built to be a pen plotter.</p> <h3>Print instructions</h3><h3>Category: DIY Summary</h3> <p>This is more of a showcase than something you can build from the files.</p> <p>The goal was to make a CNC plotter using e-waste. It started when I disassembled some printers/scanners and found the motion systems. I immediately knew I wanted to build something out of it.</p> <p>The electronics are very simple, an arduino running GRBL, a CNC shield and two stepper drivers. I use Inkscape to generate the G-code and Universal G-code Sender to stream it.</p> <p>The parts you can see of the bed of the machine are all the iterations and failed prints created during this project.</p> <h3> How I Designed This</h3> <p><strong>Construction</strong></p> <p><div><p>I had two axes, one driven by a worm gear and the other driven by a belt. I needed to find a way to mount one on the other.</p> I used some spacers to align and level the X axis on top of the Y axis. I then designed some brackets based on the hole patterns already present on the sheet metal construction. The brackets are needed to increase rigidity and prevent misalignment.<br/> The X axis is braced on the underside to prevent flexing.</div></p> <p>The other side of the Y axis is made from a glass fiber rod recycled from a tent frame. A 3D printed bushing ensures smooth motion.</p> <p>The X carriage was the most complex part to design. At first I tried a simple design, which was simply placed on the rails but this carriage was lifting and not staying level. I then added foots which lock the carriage on the rails, but theses needed supports.<br/> The top of the X carriage is pierced to enable easy toolchange.</p> <p><strong>Operation</strong></p> <p>The first toolholder was a fixed pen holder with a screw. This posed some problems as the wooden board is not perfectly flat and the pen was binding and jittering.</p> <p>This was fixed with a second design which featured a sliding pen, this enabled height correction during plotting.</p> <p><strong>Future developements</strong></p> <p>The next step is pretty obvious, making a toolholder with a servo to eliminate travel marks on the drawings.</p>
With this file you will be able to print FrankenCNC with your 3D printer. Click on the button and save the file on your computer to work, edit or customize your design. You can also find more 3D designs for printers on FrankenCNC.
