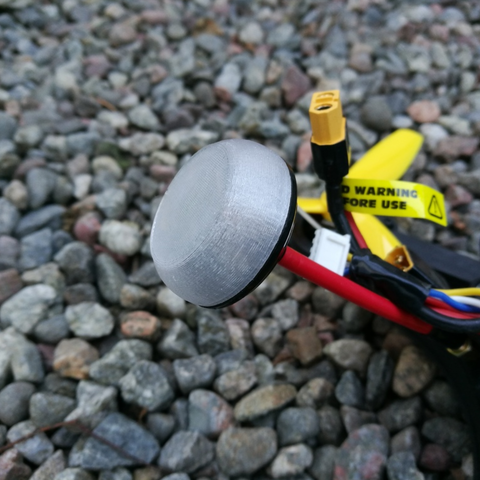
FPV Antenna replacement Cap
cults3d
FPV pilots constantly face the challenge of upgrading their equipment to stay ahead of the game, and one crucial component that often requires attention is the antenna. After all, a subpar antenna can severely limit the range and reliability of your FPV system. The good news is that replacing an FPV antenna is relatively straightforward, even for those who are new to the hobby. In this article, we'll walk you through the process step by step, so you can easily swap out your old antenna for a new one. **Step 1: Remove the Old Antenna** Before you start, make sure to power down your FPV system and disconnect any cables connected to the antenna. Next, locate the screws that hold the antenna in place and remove them using a screwdriver. Gently pull the antenna away from the quadcopter or drone. **Step 2: Prepare the New Antenna** Take your new antenna and carefully align it with the mounting points on your FPV system. Make sure it's securely seated and ready for installation. **Step 3: Reattach the New Antenna** Using the screws you removed earlier, reattach the new antenna to the FPV system. Ensure it's tightly secured in place to prevent any movement during flight. And that's it! With these simple steps, you should now have a new FPV antenna installed and ready for use. Remember to test your system thoroughly before taking to the skies to ensure everything is working as expected.
With this file you will be able to print FPV Antenna replacement Cap with your 3D printer. Click on the button and save the file on your computer to work, edit or customize your design. You can also find more 3D designs for printers on FPV Antenna replacement Cap.