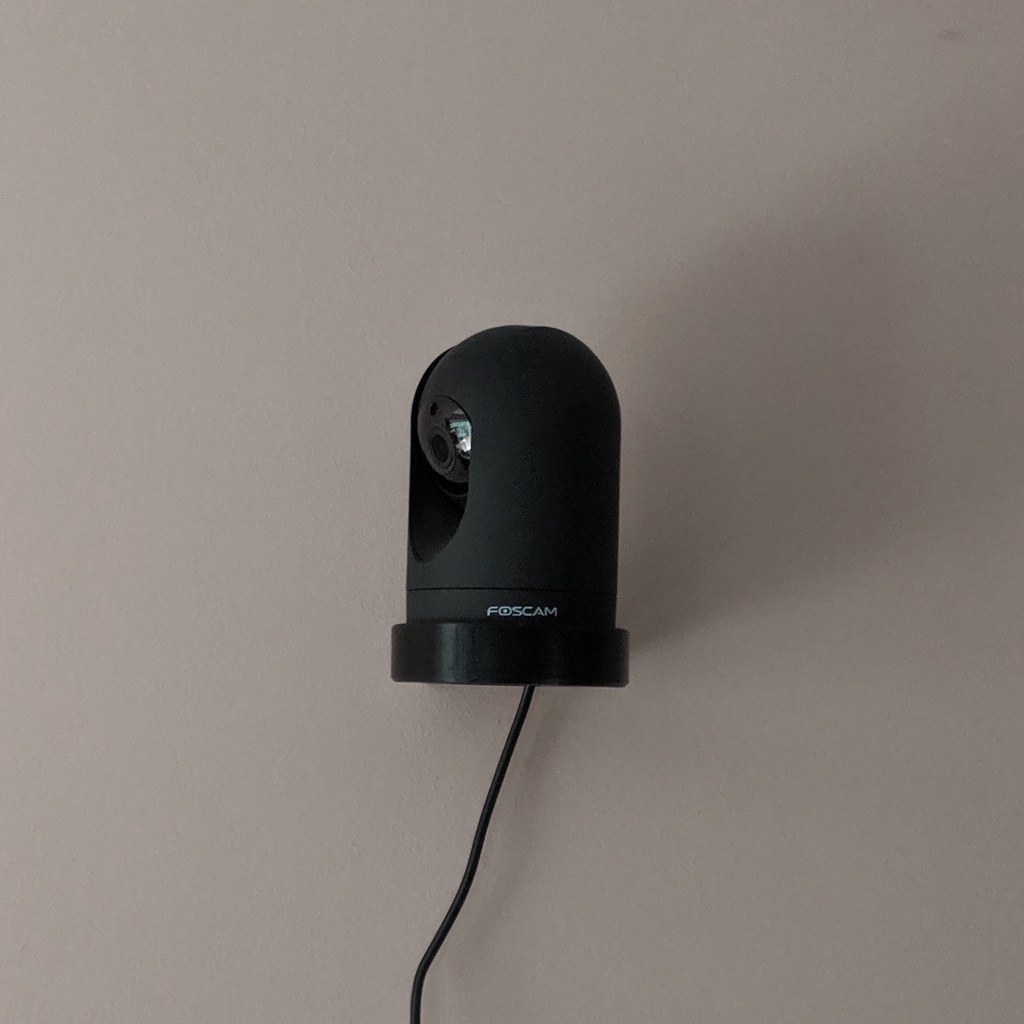
Foscam R2 Wallmount
thingiverse
Mounting a wall mount for your Foscam R2 camera is an easy task that only requires a few steps and some basic tools. First, locate the mounting screws on the back of the camera and remove them using a screwdriver. Next, take the wall mount and attach it to the camera's mounting bracket by sliding it into place and securing it with the provided screws. Make sure the mount is level and adjust it as needed before tightening the screws securely. Finally, locate a stud in your wall using a stud finder and mark its location with a pencil. Drill a hole at the marked spot and insert the anchor screw that came with the mount. Screw the mount into place by turning it clockwise until it is snug against the wall. Your Foscam R2 camera is now securely mounted on the wall, providing you with a clear view of your surroundings without taking up valuable desk space.
With this file you will be able to print Foscam R2 Wallmount with your 3D printer. Click on the button and save the file on your computer to work, edit or customize your design. You can also find more 3D designs for printers on Foscam R2 Wallmount.
