FormLabs Form 1 Leveling Jig
thingiverse
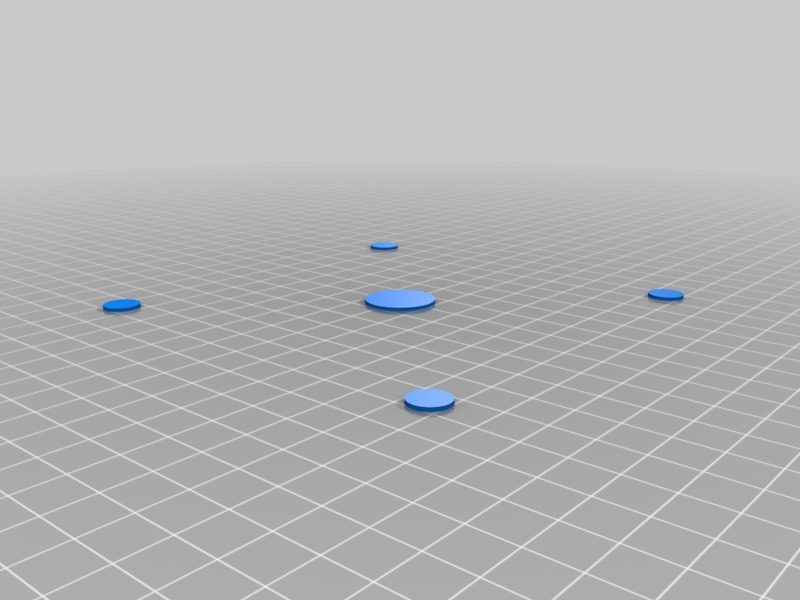
If you re-pour your PDMS layer or use 3rd party vats with your Form 1, chances are your build platform is in need of leveling. This calibration jig places four 10mm x 1mm disks in the corners and one 20mm x 1mm disk in the middle of your build platform. Calibration means that the build platform is parallel to the surface of the PDMS layer and at the nominal distance. The procedure requires patience, steady hands, and attention to detail. Calibration Summary: Print the calibration jig. Remove disks one at a time and measure their thickness using a caliper. Adjust the leveling nuts in each corner with a 7mm wrench. Print the calibration jig again. Measure disk thickness again. Adjust leveling if needed. A few words on leveling: Leveling is adjusted by tightening or loosening the four Nylock nuts located in the corners of the tilt platform, under the vat. A full turn of the nut is equal to 0.7mm. Since the nut has six sides, it's useful to exploit the fact that one-sixth of a turn adjusts the level by 0.116mm. It's possible to turn these leveling nuts with the case fully assembled, but it brings you close proximity to the main mirror, so I recommend removing covers for leveling. Some day soon, I'll make a video of this process.
With this file you will be able to print FormLabs Form 1 Leveling Jig with your 3D printer. Click on the button and save the file on your computer to work, edit or customize your design. You can also find more 3D designs for printers on FormLabs Form 1 Leveling Jig.
