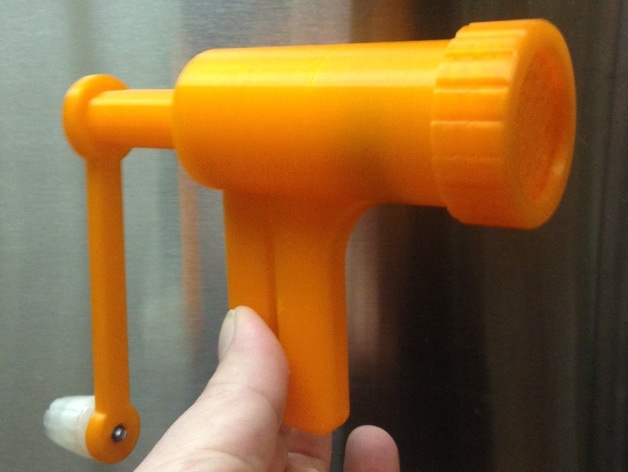
Food grater/slicer
thingiverse
Create ribbons from moderate foods using this tool; too soft items will be destroyed, while hard ones won't cut. Attach knob with an M3 screw and two nuts. Add either a 'xholder' or a 'spiked holder' (for harder materials) to the crank after inserting the pusher. The notch in the disc aligns inside the retainer ring. Screw the ring onto the body, place the pusher into it, apply pressure, and start cranking. Tested with Japanese cucumbers for curly strings (see photo). More of an exercise than useful, but give it a try. Note: use at your own risk; potential plastic debris in food, unknown food contamination risks, and injury risks are possible. For printing, the body requires supports for the handle, while others don't need them. Print holders and the slicing disk with .25 or thinner layers, with 50% infill for holders and solid (100%) infill for the disk. Adjust print speed to around 80% if your printer requires it.
With this file you will be able to print Food grater/slicer with your 3D printer. Click on the button and save the file on your computer to work, edit or customize your design. You can also find more 3D designs for printers on Food grater/slicer.
