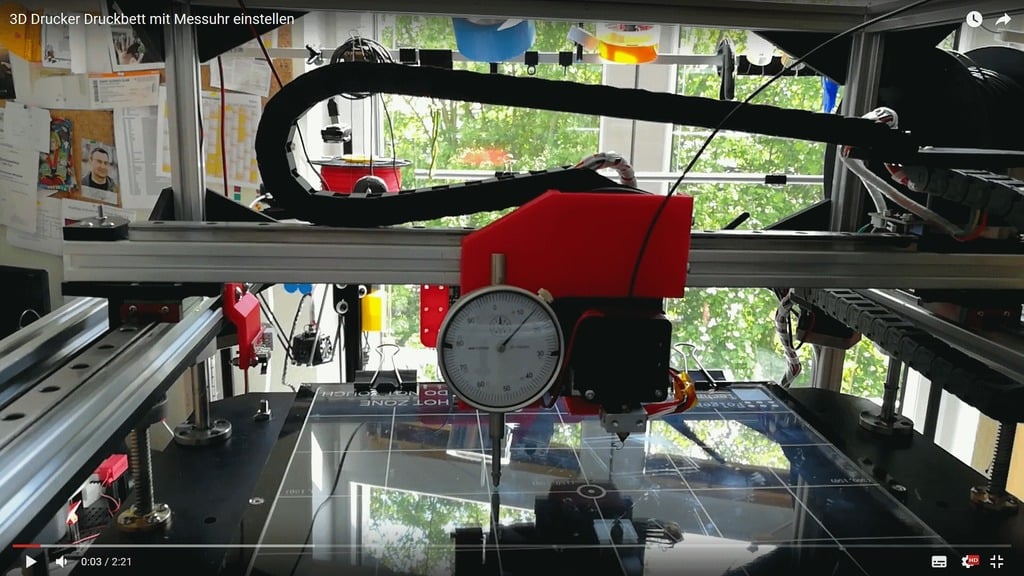
Folgertech FT-5 - Setting the 3D printer bed with a dial gauge
thingiverse
Setting the 3D Printer Bed with Precision Using a Dial Gauge. To ensure accurate prints, it's crucial to level the 3D printer bed with precision. One of the most effective ways to do this is by using a dial gauge. This tool allows you to measure and adjust the distance between the print bed and the hotend with great accuracy. First, locate the dial gauge on your 3D printer. Typically, it's mounted near the print bed or on the carriage. Make sure the gauge is calibrated properly before proceeding. Next, lower the print head until it almost touches the build plate. Then, slowly raise it while monitoring the readings on the dial gauge. The goal is to achieve a consistent reading across multiple points on the bed. To do this, move the print head to different areas of the bed and take note of the readings. If you notice significant variations, adjust the bed's height accordingly using the adjustment screws or knobs provided. Continue this process until you've achieved a uniform reading across the entire print bed. This ensures that your 3D prints will be level, stable, and free from defects caused by uneven bed surfaces. By following these steps and utilizing a dial gauge, you'll be able to set your 3D printer bed with precision and accuracy, resulting in high-quality prints every time.
With this file you will be able to print Folgertech FT-5 - Setting the 3D printer bed with a dial gauge with your 3D printer. Click on the button and save the file on your computer to work, edit or customize your design. You can also find more 3D designs for printers on Folgertech FT-5 - Setting the 3D printer bed with a dial gauge.
