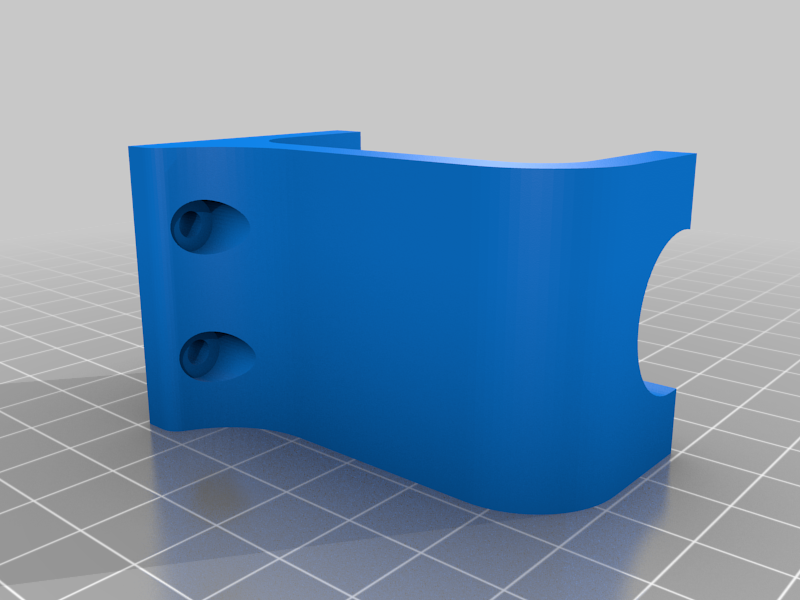
Focusrite Scarlett 6i6 desk mount
prusaprinters
<p>Designed a desk mount for my Focusrite Scarlett 6i6 audio interface. The idea was to move it below the desk, to reduce the number of cables running across my desk. This thing comes with 1 model (bracket) that needs to be printed 4 times, once for each corner of the audio interface. The bracket is designed to fit onto the rubber feet of the audio interface, so that the interface can't move in any direction once mounted.</p> <h3> Print Settings</h3> <p><strong>Printer:</strong></p> <p>Creality CR-6 SE</p> <p><p class="detail-setting rafts"><strong>Rafts: </strong> <div><p>No</p></div><strong>Supports:</strong></p> <p>Yes</p> <p><p class="detail-setting resolution"><strong>Resolution: </strong> <div><p>0.2</p></div><strong>Infill:</strong></p> <p>100%</p> <p><strong>Filament:</strong> colorFabb PLA Black <br/> <p class="detail-setting notes"><strong>Notes: </strong> </p><div><p>I printed this on my Creality CR-6 SE using colorFabb black matte PLA. For rigidity, I used 100% infill, though it might work just well with less, but for example 4 walls. Using 4 brackets, there should be little angular force on the parts, so deformation should be okay. If you still fear for that, you could use a different material, e.g. ABS or PETG.</p> I printed the brackets lying on the side, so the filament runs lengthways and not lateral, for better stability. This required to use supports for the overhanging cutout as well as the screw holes.</div></p> <h3> How I Designed This</h3> <p>I designed this in Fusion 360. After taking the initial measurements of my audio interface, I approached the correct corner radius by doing a few test prints.</p> </p></p> Category: DIY
With this file you will be able to print Focusrite Scarlett 6i6 desk mount with your 3D printer. Click on the button and save the file on your computer to work, edit or customize your design. You can also find more 3D designs for printers on Focusrite Scarlett 6i6 desk mount.
