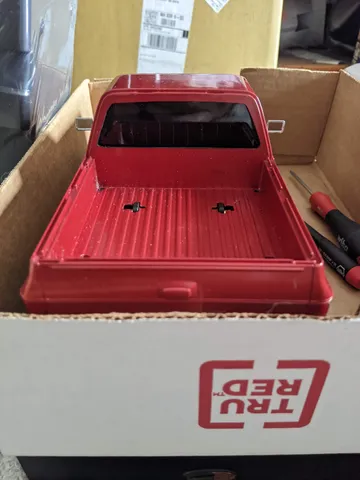
FMS FCX-24 K5 Blazer Rear Window Cutting Guide
prusaprinters
Warning - the mounting holes/webbing inside the cutout are not perfectly centered. The window cutout is fine, and this just means that the inside guide will only fit in one orientation. It's such a non-issue that it wasn't worth fixing the model, but may confuse you at first. To use :1- Place the guide against the back wall of the cab. Hold firmly and drill 4 mounting holes.2- Place the small guide inside the cab and secure both guides, with body shell sandwiched between, using M3 screws and nuts.3- Drill out most of the material inside the hole.4- Using a hobby saw or other tool, carefully cut the outside edges of the hole while following the guide closely.5- Using a file or sandpaper, sand the edges of the cut down to meet the guide.6- Remove guide pieces and cut remaining 2mm tabs.7- Sand tabs flush with the rest of your cut.8- Carefully paint edges of hole (or just use a sharpie like I did)9- Clean up clingy styrene dust for the next 2 weeks.
With this file you will be able to print FMS FCX-24 K5 Blazer Rear Window Cutting Guide with your 3D printer. Click on the button and save the file on your computer to work, edit or customize your design. You can also find more 3D designs for printers on FMS FCX-24 K5 Blazer Rear Window Cutting Guide.
