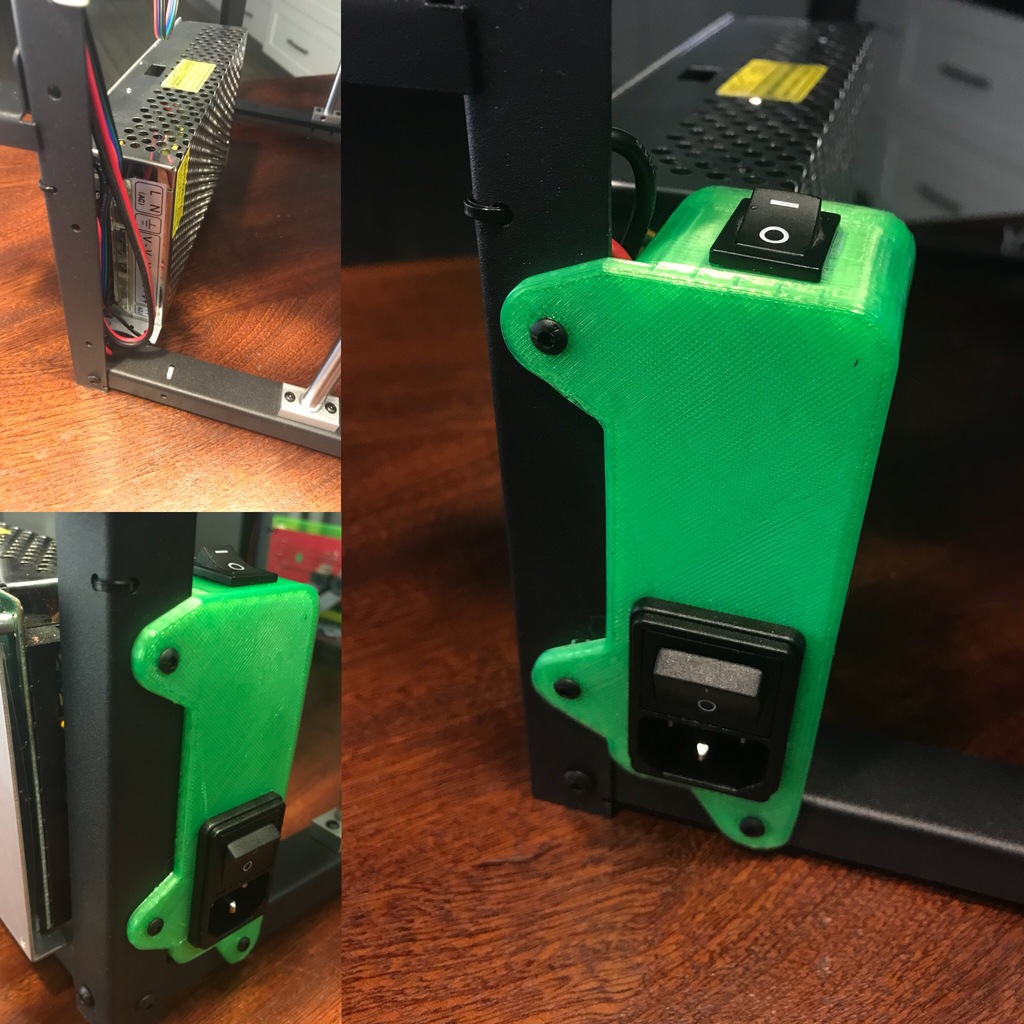
Flyingbear P905 Power Relay Box
thingiverse
I recently purchased a Flyingbear P905 printer, and I'm thoroughly impressed with its performance - it prints with decent quality and offers great value for money. However, there are a few features I grew accustomed to on my previous printer that I miss on my new one.\r\n\r\nOne of the things I liked was being able to have OctoPrint automatically shut down the printer after a period of inactivity. To achieve this with my P905, I used a 5V relay module connected to the PS_ON header, making it easy to install without requiring any customization.\r\n\r\nThis box allows for seamless installation on the printer's frame without needing to move any components or drill any holes - perfect for those who want a hassle-free experience. My P905 came with an MKS Gen_L controller board, which doesn't have a PS_ON header that would allow me to control the relay using M80/M81 commands.\r\n\r\nBut don't worry, it's still possible to use the servo headers to switch power - all you need to do is tweak your firmware. I simply modified my pins_RAMPS.h file by changing the PIN assignments for SERVO0_PIN to 12 and PS_ON_PIN to 11.\r\n\r\nWith these changes, you can use the first servo connector to switch the relay, and then update your Configuration.h to enable the POWER_SUPPLY setting. The relay itself simply switches the live wire to the power supply on or off - it's a straightforward process. I also added a switch on top of the box that allows you to bypass the relay and keep the printer running if desired.\r\n\r\nI hope this upgrade brings you as much joy as it has brought me.
With this file you will be able to print Flyingbear P905 Power Relay Box with your 3D printer. Click on the button and save the file on your computer to work, edit or customize your design. You can also find more 3D designs for printers on Flyingbear P905 Power Relay Box.
