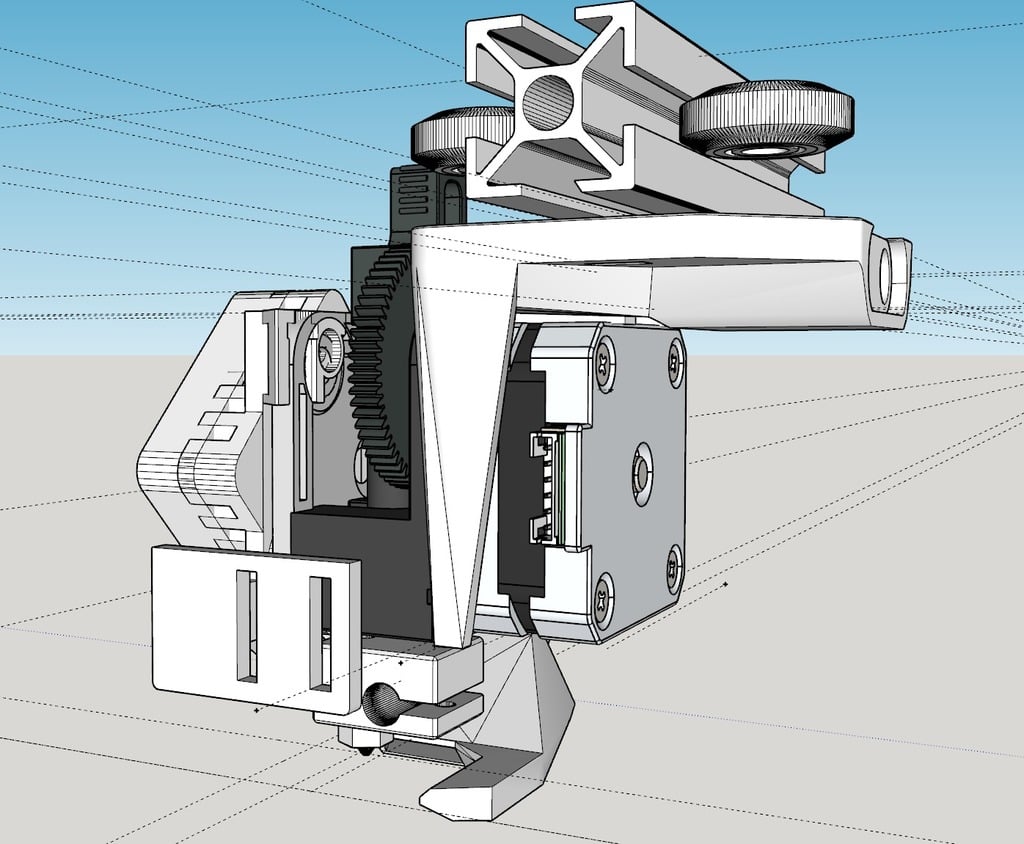
FLSUN I3 X-Carriage for Titan Aero
thingiverse
A carriage for the titan aero is designed to mount on the bottom instead of the top. To prevent belts from getting pulled at an angle, I flipped my x axis upside down - this might be an optional step. Note: Be sure to reduce voltage on your pancake stepper or it will get so hot as to warp the carriage. I've experienced this firsthand and can attest to its importance. I'm using a 20mm deep stepper reduced to 0.3v, which keeps it only slightly warm. Using the smallest stepper is ideal due to its light weight and every gram counts in printing. However, if you're printing thick layers (0.4mm), consider a bigger stepper with more torque for better results. Adding a lock washer between bearings and plastic tube spacers can help prevent rubbing between bearing and spacer. If you find a small enough one, it will allow you to tighten bolts without causing damage. This design includes several changes from the original, including reinforcing parts on the carriage that warped when they got hot and beefing up belt holes since ABS is prone to breaking under tension. I highly recommend the original design for its ability to dial in wheel pressure on the rail, making all the difference. A remixed blower mount with tronxy sensor mount has been added. While it's not perfect, it's functional. Some ideas for a new one are being held off until my new IR sensor arrives. See this updated blower mount at https://www.thingiverse.com/thing:2765171 and AUS3D IR sensor mount at https://www.thingiverse.com/thing:2765184.
With this file you will be able to print FLSUN I3 X-Carriage for Titan Aero with your 3D printer. Click on the button and save the file on your computer to work, edit or customize your design. You can also find more 3D designs for printers on FLSUN I3 X-Carriage for Titan Aero.
