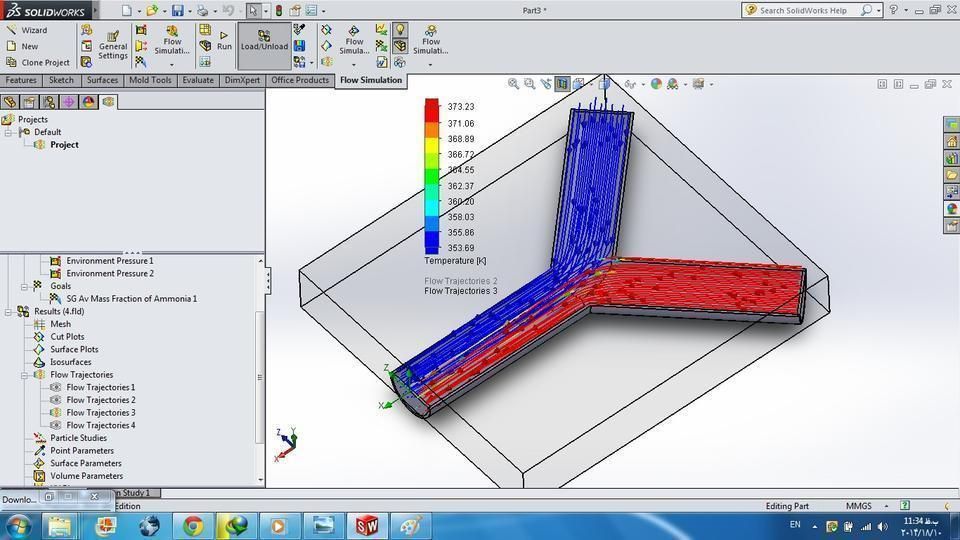
Flow simulation Free 3D model
cgtrader
Welcome to the SolidWorks tutorial! Here, we'll be discussing a trick that lets you easily model objects with varied densities in SW's advanced solver: SolidWorks Flow Simulation. If your parts come from multi-material components or if they have regions with distinct properties, read on! Tip #1 - Multiple Section Assignments Open SolidWorks and start a new part with two sections using different materials in SolidWorks Part Property Manager. The Section Feature in the Advanced Entities section lets you pick up which elements of that face should go with your first solid or multi-body body part's volume. Click the drop-down to select Material 1. Then use Part/ Multi Body Part again for another separate entity where both faces were joined at that node in an instance. To access the properties for these items (you might already have done so!), just highlight 'Property Manager'. Select each component, then click on Advanced Features -> Solid / multi-Body > and enter in this expression after giving it a unique name "Face" so we don't get lost when referring later down lines. With all those parts added you've now managed setting different values per section by simply switching through properties panel & adding new items as shown before until both material types got assigned successfully without changing overall weight since every section will act individually!
With this file you will be able to print Flow simulation Free 3D model with your 3D printer. Click on the button and save the file on your computer to work, edit or customize your design. You can also find more 3D designs for printers on Flow simulation Free 3D model.
