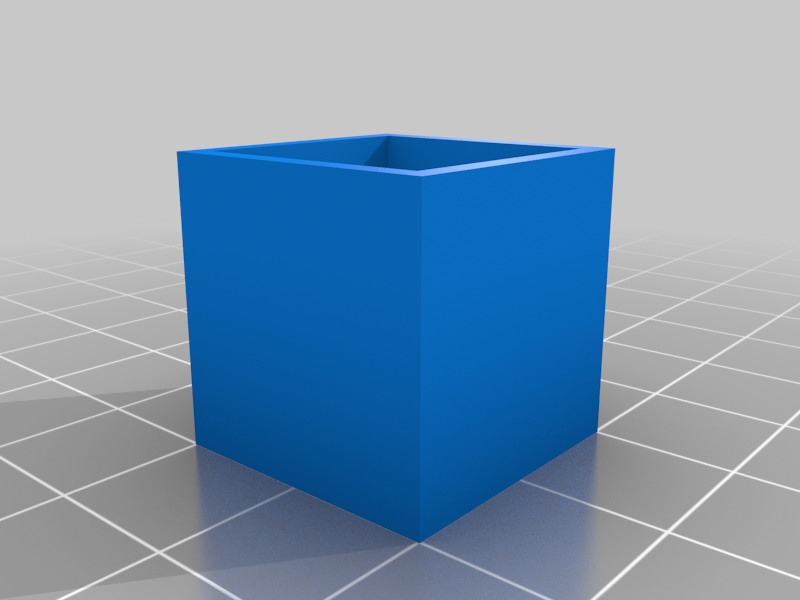
Flow Calibration Cube
thingiverse
This Cube is referenced in my Youtube E-step/Flow calibration video: https://youtu.be/_v0PxaK7apI This is a very simple calibration cube, used to measure the thickness of all four walls. I found this process from Tomb of 3D Printed Horrors (https://www.youtube.com/channel/UC5Lbnd97HV3rU98gcwHklzQ/featured) There are two models, a cube with 0.8 thickness wall used to measure 0.4mm nozzles, and then a larger 1.6 thickness wall used to measure 0.8mm nozzles. The test would work as follows: (0.4mm nozzle example in Cura) -In your slicer make sure Wall Thickness is 0.8 and Wall Line Count is 2 -This will ensure that your cube will be printed with exactly 2 walls on each side (0.4mm nozzle = 0.4mm line width = 2 walls) -Print your cube and then using calipers measure the thickness of each wall -Each wall should measure 0.8mm thickness, if it does, you're done! If not, keep going -Measure the thickness of each wall, then add them together and divide by 4 to get an average. We call this number 'X' -Then divide the width of the model wall (0.8) we call this 'Y' by the average of all sides (X) -Y / X = NEW FLOW % I found this process is a great starting point but can also be built upon by using all the various flow settings in your given slicer.
With this file you will be able to print Flow Calibration Cube with your 3D printer. Click on the button and save the file on your computer to work, edit or customize your design. You can also find more 3D designs for printers on Flow Calibration Cube.
