Floating TableTop V.2
prusaprinters
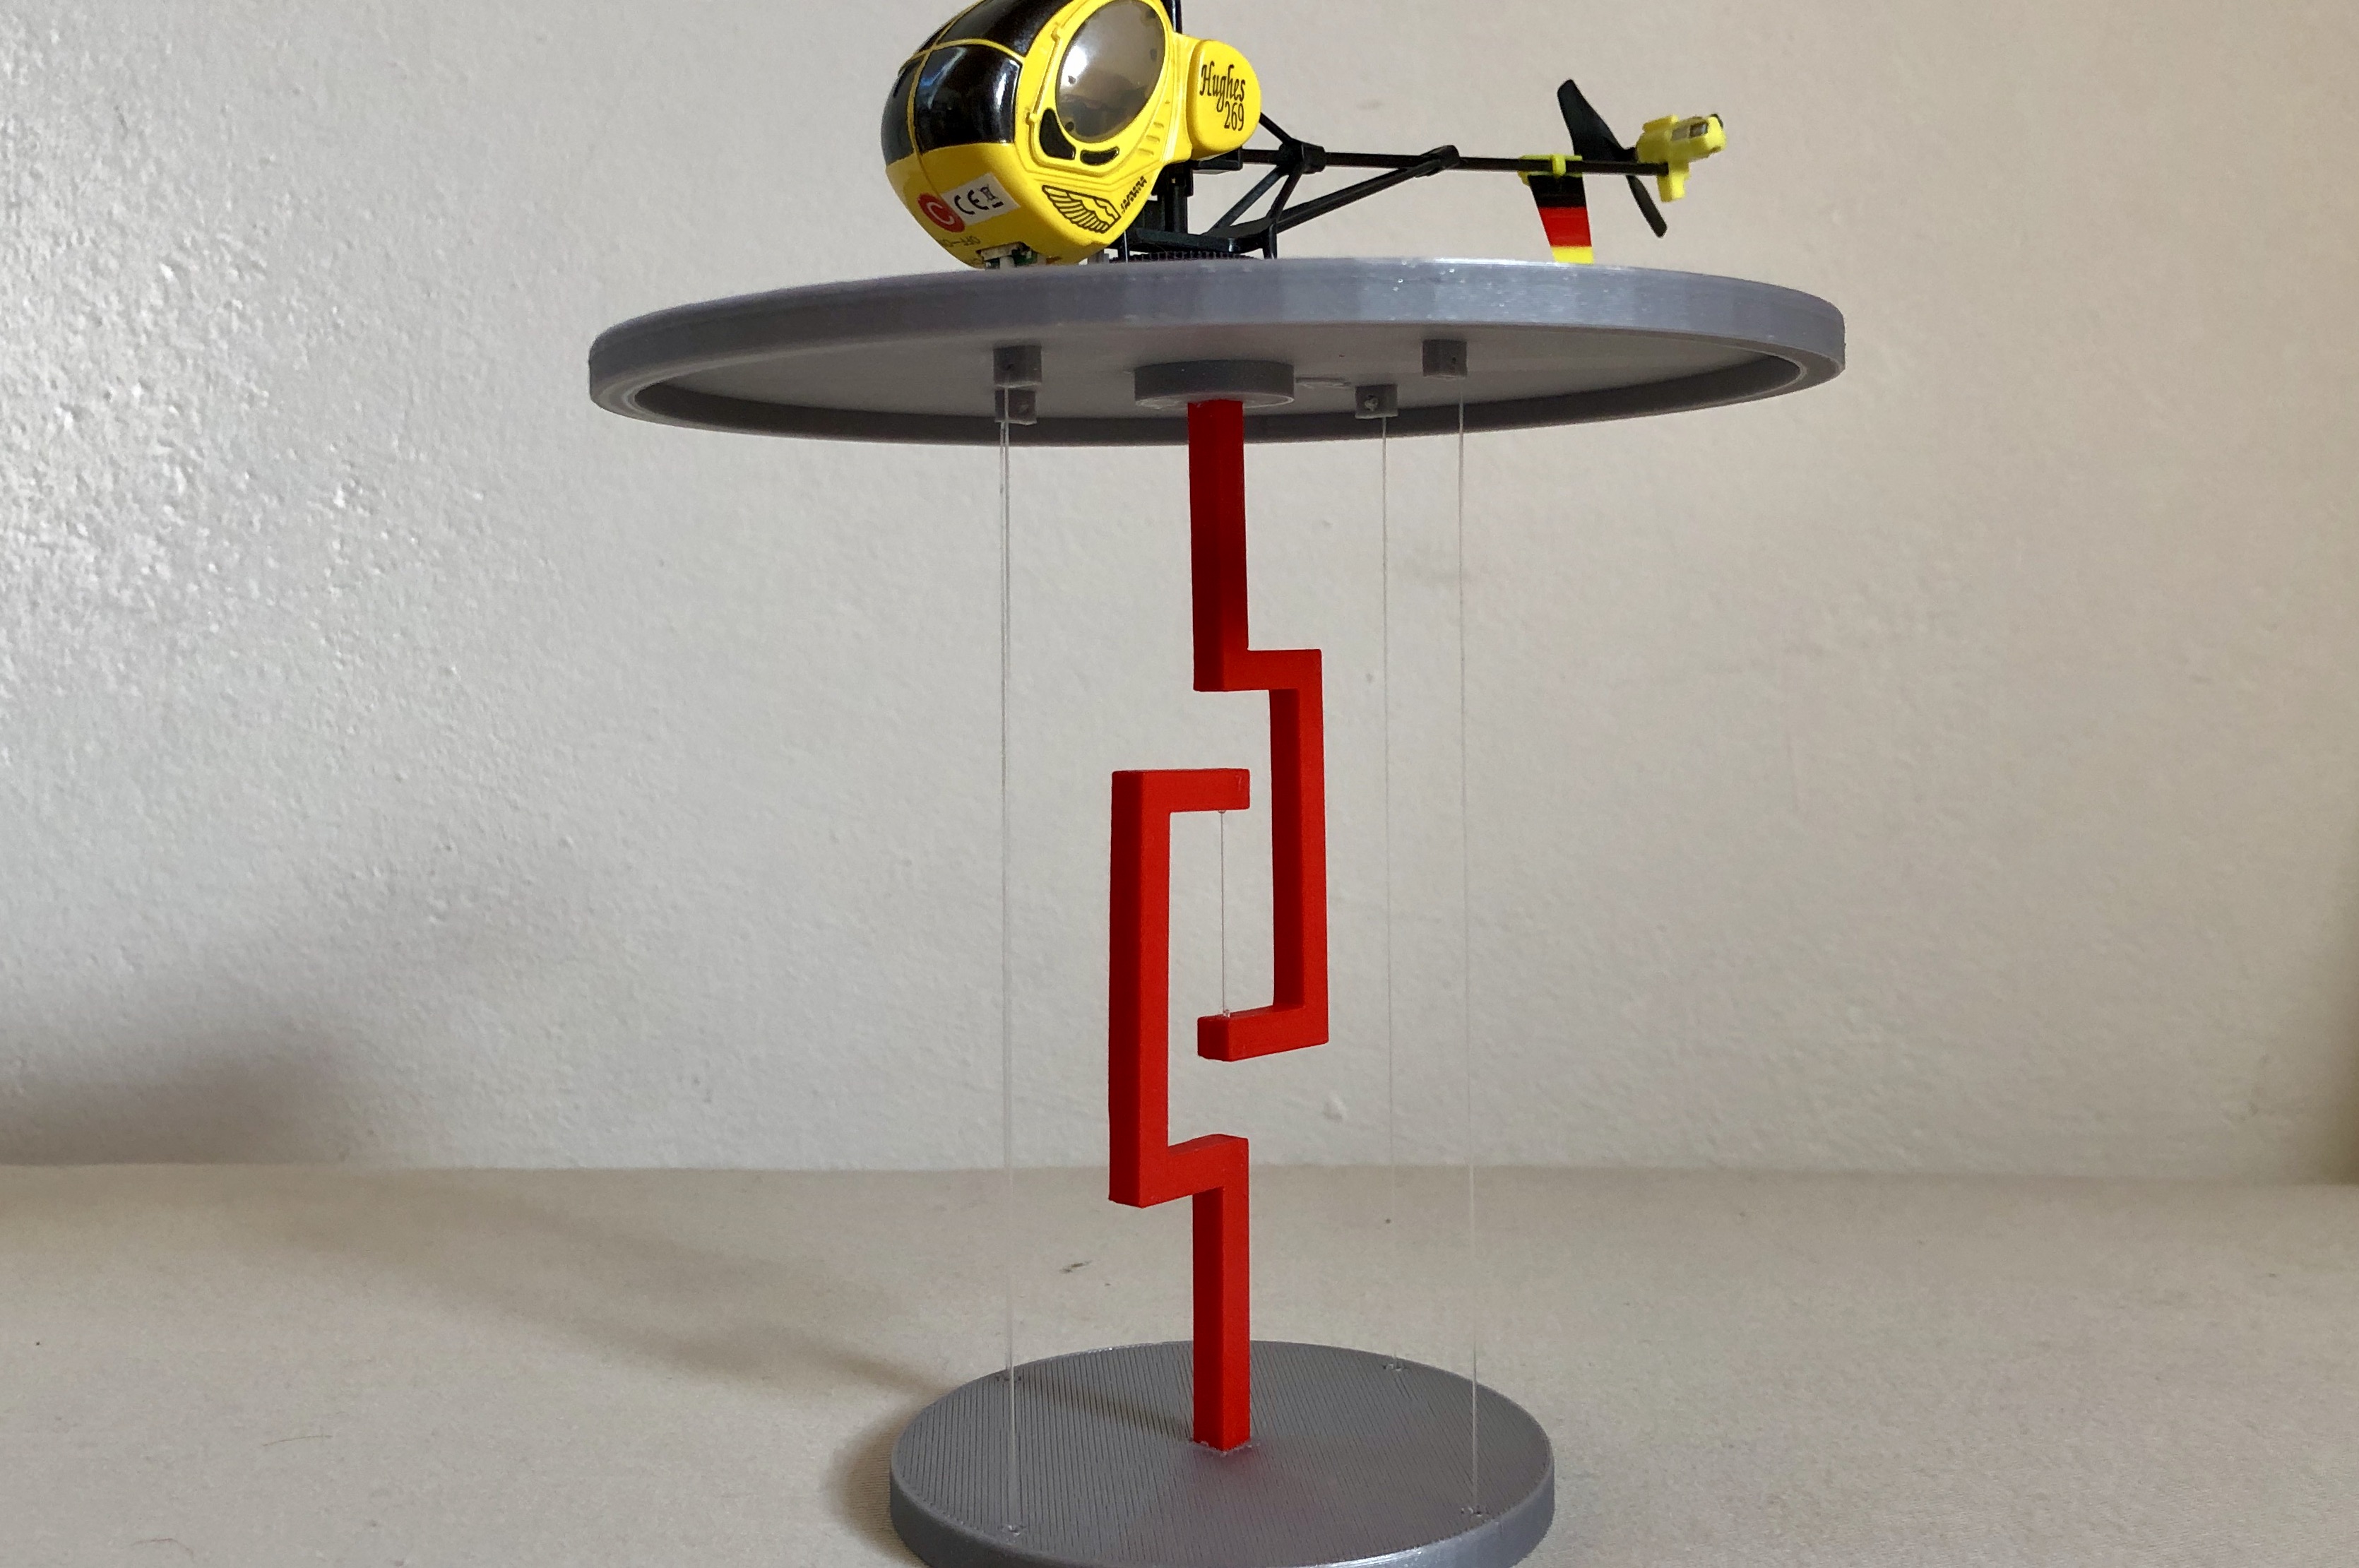
<p>I am pleased that the model "Floating Table Top" has generally met with great interest!</p> <p>I know and I have also pointed out that the assembly is not very easy and needs a lot of patience! It was not easy for me either! So I thought about finding a way to adjust and fix the 4 tensioning strings during assembly. For this purpose I attached small blocks with notches at the bottom of the table base, into which the tensioning threads can be clamped and can also be fixed after the adjustment.</p> <p>The original model had 4 double tension threads. I changed that on this occasion. The opposite tension points are now connected with only one thread, which makes the look even more interesting.</p> <p>Dimensions: tabletop Ø150mm, base Ø 80mm, height about 140mm</p> <p>As tensioning string I took a nylon string Ø 0.35mm. Thread or dental floss will also do the job!</p> <p>Start to insert the middle parts into the table top and the table foot ... into the holes provided. The arrows at the bottom are there to align the middle parts correctly. You should place them as shown in the 4th picture! To ensure a good fit, the fitting accuracy is very tight. It may be necessary to correct the fit with a cutter knife or sandpaper. Then apply superglue. For a correct alignment you should use a stop angle!</p> <p>Then insert a string into the holes the middle parts. The distance there in the string area should be about 20 - max. 25mm.</p> <p>When the middle parts are glued tightly, you can start with the difficult part. Place the table top with the bottom side facing up. Then you need 4 threads of about 30cm. Take one thread and make a multiple knot at one end and then pull the thread through the hole of a fixing point on the underside of the table top. Then feed the thread through a hole in the table base. Pay attention to the alignment of the middle parts. At first just clamp the string. If the notch is not clean, try to open it with a cutter knife.</p> <p>Do the same with the other 3 strings. Now you can start with the adjustment. Do not tighten the threads too much, otherwise the middle parts could deform. So when the strings are slightly tightened, table foot and table top are aligned horizontally, then you can secure the strings. Hurray! That's it! … the table top ist floating!</p> <h3>Print instructions</h3><p>Printer: Prusa MK3s, Prusa Mini</p> <p>Filament: PLA</p> <p>Filament brand: Prusa Silver, ICE Romantic Red</p> <p>Infill: 20%</p>
With this file you will be able to print Floating TableTop V.2 with your 3D printer. Click on the button and save the file on your computer to work, edit or customize your design. You can also find more 3D designs for printers on Floating TableTop V.2.
