Floating Shelf Keyhole
thingiverse
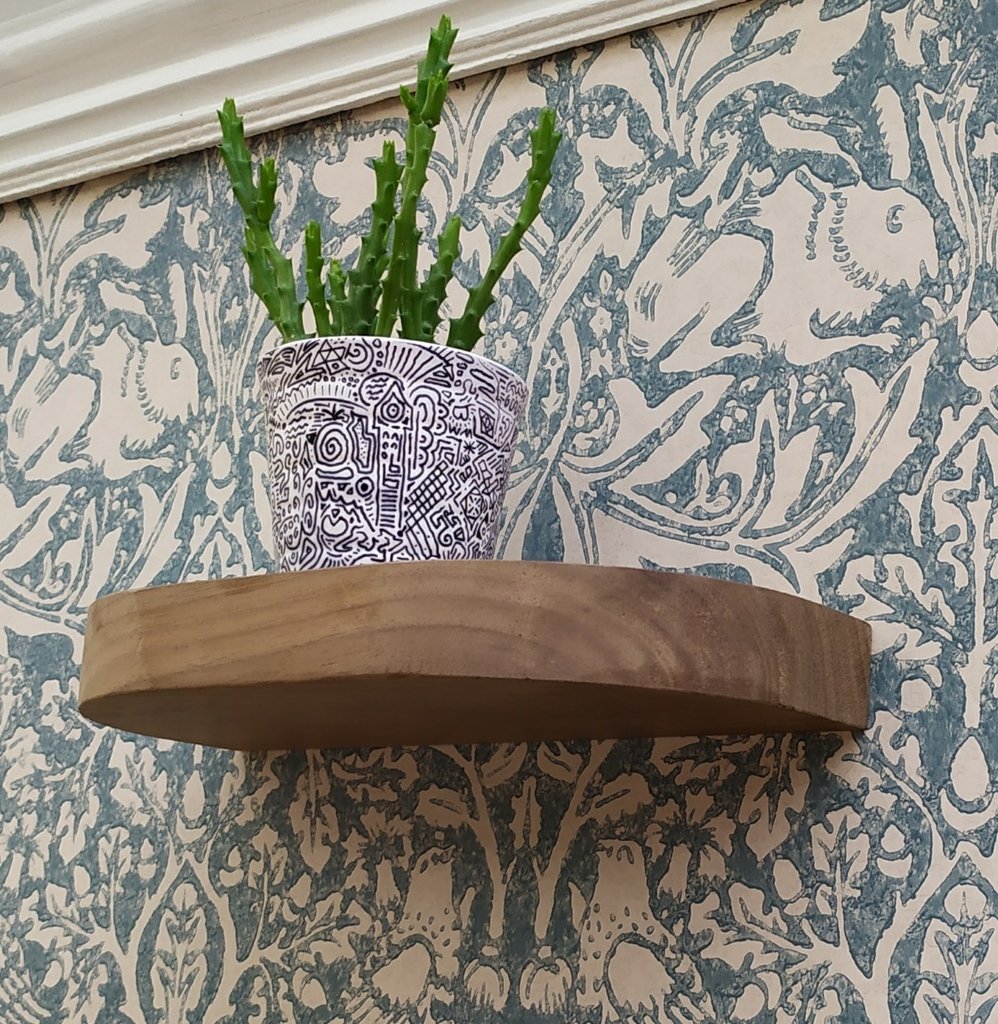
This insert allows you to create floating shelves with no visible screw holes, making them ideal for homes and offices where aesthetics matter most. It works perfectly as long as it doesn't have to support a heavy load, but corner shelves can hold more weight and are relatively simple to install. The part is screwed into a hole in the back of the shelf, which must be drilled straight - preferably by hand - to ensure the teeth grip and lock the orientation of the part. The shelf now features a "keyhole" design on its backside that can slide over a screw in the wall. By adjusting the depth of the screw in the wall, you can achieve a snug fit. To print this insert, place it with the keyhole side facing up. Here are the steps to follow: Using a 16mm spade bit, drill holes about 15mm deep. Drill pilot holes for the screw and check that both CS screws will fit into the part. Insert a screw into the part, align its orientation, and tighten until the part is flush or slightly recessed in the shelf (be sure to insert it first - avoid hammering it in). Mark the positions of the holes on the wall with precision. Drill holes for the wall plugs and insert them. Tighten each screw by hand and adjust their depth individually, testing one at a time until the shelf is securely fastened to the wall. If you're installing a corner shelf, it's best to use two vertically aligned screws on one side of the shelf and a single screw on the other side of the wall. This will allow you to orientate the part at 90 degrees and make it easier to secure the shelf in place.
With this file you will be able to print Floating Shelf Keyhole with your 3D printer. Click on the button and save the file on your computer to work, edit or customize your design. You can also find more 3D designs for printers on Floating Shelf Keyhole.
