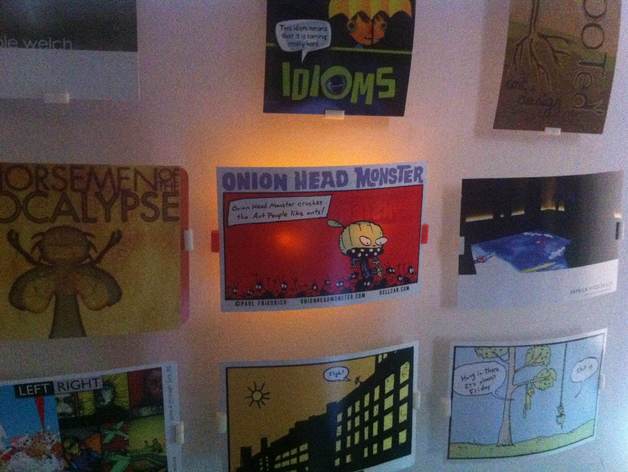
Floating LED Photo Frame
thingiverse
I Remixed the photo frame with its backlit LED(s) fully integrated; You can backlight it using either one or two LEDs - center, left, or right depending on your preference. The PLA components friction fit, but a little sanding was required for a smooth finish - no supports needed during printing. You may want to glue the LED bridge to keep its arms from expanding out if necessary. For double backlighting: Option one has the LEDs situated left and right of the battery on the LED bridge; insert cap and turn it on, remembering to set polarity correctly. Option two is placing the LEDs in the side bar and interweaving them with a CR2025 or CR2032 battery before inserting cap - simple swap-outs available this way. With removable batteries for quicker switching, gallery setups work seamlessly under one single battery - lasting up to 3 weeks max; but note red & orange require an added resistor always intended as it is set for an on all installation design which will benefit a dedicated switch option for sure that includes redesign or using mini breadboard as long the total load doesn't weigh it down too much though would really ideal a nice feature here!
With this file you will be able to print Floating LED Photo Frame with your 3D printer. Click on the button and save the file on your computer to work, edit or customize your design. You can also find more 3D designs for printers on Floating LED Photo Frame.
