FlipGrip Minimalist Media Control Keyboard
prusaprinters
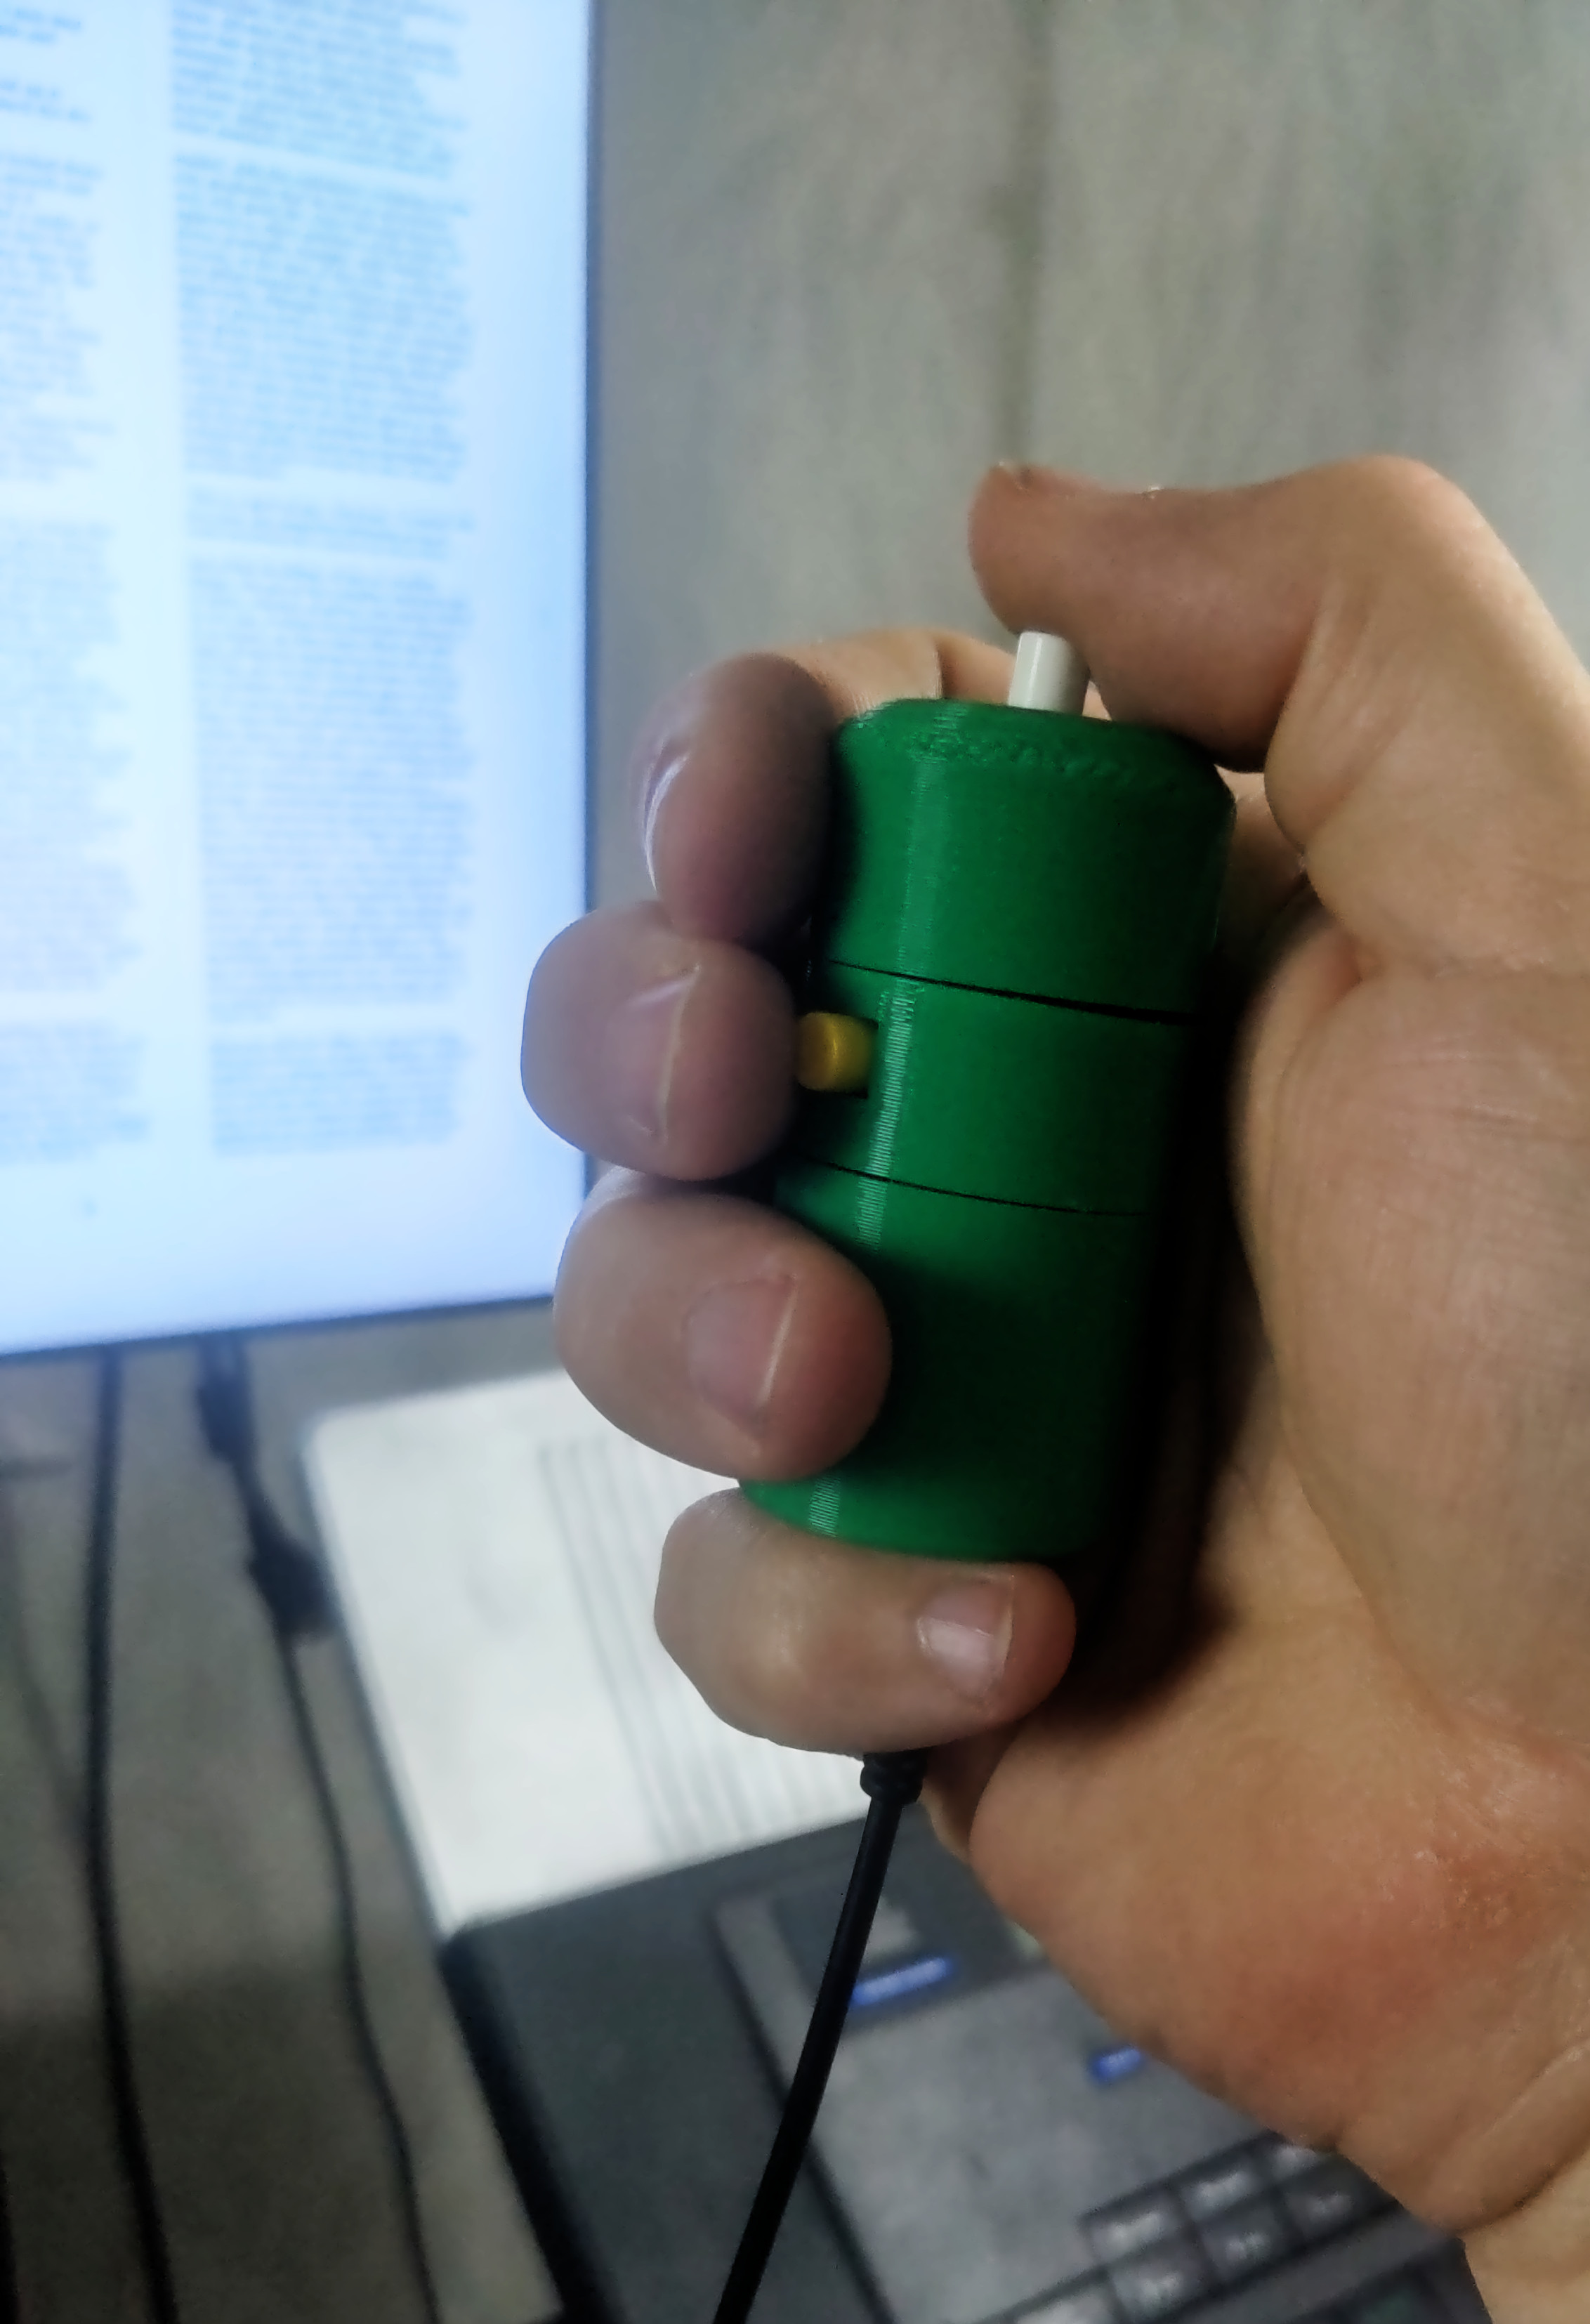
<p>Run. Flip. Repeat.</p><p>FlipGrip is a tiny keyboard that fits in the palm of your hand and has just one job: flip the pages of your book while you're running. (Or the tracks of your music/video playlist.)</p><p>I like to read on the treadmill. For me, it's the perfect distraction from the tedium of running/walking in a room that never changes. But even though my media lives on a desktop computer in the very same room, I've struggled for years with how to control it from just a few feet away.</p><p>The first problem was the screen. Phones and tablets were just too small when placed on the console, and they bounced around too much when held in my hand. To solve both visibility and stability, I mounted a computer monitor on the wall in front of me. Problem solved. And to up the whole bookish vibe, I even rotated it portrait style. But when it came time to flip to the next page? Argh! For that, I was still a flailing mess.</p><p>At first I tried balancing a keyboard on the treadmill's console, but it was surprisingly hard to tap a key with any precision when moving at pace. (And why on earth is Print Screen so close to the Page Down button, anyway?)</p><p>Mice and trackballs were obvious options too, but just like the keyboard, they required more precision and dexterity than I could muster on the move. I even tried a couple of handheld Bluetooth keyboards, but since they were intended for typing, the designers assumed two hands would always be available for the task. Have you ever tried running while carrying a pie? Well, the same thing happens with a keyboard. It forces your hands into a very awkward position. Long story short, after many disappointing experiments, it seemed there were just no devices on the market that would let me control my media in comfort while moving at a dead sprint.</p><p>So I built my own.</p><p>FlipGrip is about the size of a roll of quarters and fits comfortably into one loosely clenched fist. To keep things simple, it has just two keys: one thumb trigger on top to page forward, and another on the side to page back. With FlipGrip, my hands are free to swing as they please. Gone are the days of trying to stab one tiny key in a sea of wavering candidates. Just click, and flip. Easy as... well, <i>not</i> pie.</p><p>Based on a Teensy-like micro-controller, FlipGrip sends standard key-press signals over USB, just like any normal keyboard would, so you know it will work with whatever reading app you have, right out of the box.</p><p>By default, FlipGrip sends the Page Down and Page Up signals, but if you'd rather control a playlist, we've got you covered there too. Just long-press the thumb trigger and switch to Media Mode. Now the keys are mapped to Play/Pause and Skip Track. And to get back to Book Mode, long press the top trigger again.</p><p>Some days, I even listen to music <i>while</i> I'm reading, and FlipGrip takes it all in stride so I can stay in mine, happily bouncing back and forth between modes as I continue with my workout.</p><p>And if you prefer to do your running outdoors, you can even use FlipGrip to control the media on your phone. No more fumbling to find the volume keys on a phone that's tucked into your pocket. Just click. And flip.</p><h5>Technical Details</h5><p>I didn't have a Teensy handy at the time, so I substituted a Keeyees Pro Micro (which Arduino sees as a Leonardo). The important part is that it should be a fairly narrow board to fit nicely in your hand, and it <i>must</i> support USB HID.</p><p>The wiring is pretty simple, as you can see here. Just a couple of 6mm push buttons and a pair of 220 ohm resistors. Since power will come from the USB cable, that's all there is to it. </p><figure class="image image-style-align-center image_resized" style="width:92.75%;"><img src="https://media.prusaprinters.org/media/prints/135739/rich_content/9e146d29-4b82-4624-b228-afacf125e364/wiring.jpg#%7B%22uuid%22%3A%22380ea76d-1c29-4ef2-80e3-c268081b0450%22%2C%22w%22%3A755%2C%22h%22%3A636%7D"></figure><h5>Assembly</h5><ol><li>Install the FlipGrip code sketch into your board.</li><li>Solder a ground wire, a power wire, and two signal wires to the board as per the schematic. Use a different color for each, as you won't be able to see which is which once the board is seated into the case. Keep your wires fairly short, as there isn't a lot of room in the case, and be tidy with the solder, because the socket we're sliding into needs the edges of the board to be free of obstructions. </li><li>Push the board down (USB end first) into the bottom section of the case. The USB connector is not centered, so be sure you have the board oriented the right way around. The connector needs to mate up with the hole at the bottom. When you're done, all five wires should be sticking up out of the case and the board should be seated all the way, its top edge flush with the lower lip of the case collar.</li><li>Seat a push button firmly into the socket on the top section. The wire legs should be easy to access inside, and when you attach the button cap, only about half of it should protrude from the socket. Do the same again with the socket in the mid-section.</li><li> Solder a resistor to one leg of the top switch, and another to a leg of the side switch.</li><li>Twist the other ends of those resistors together and solder them to the ground wire.</li><li>Assuming you haven't altered the Arduino code, the signal wire from Pin 4 should be soldered to the top switch, where it connects to the resistor. The Pin 7 wire should go to the side switch.</li><li>Solder a short length of wire to the free leg of the top switch and solder its other end to the free leg of the side switch, where you will also solder the power wire.</li><li>Now slide the three case parts together. They were designed to have a fairly tight fit so they won't come apart in your hand, but you may need to tweak things to get them settled.</li></ol><p>That's it. Plug the FlipGrip into your computer and place your cursor in a window that has scrollable text, then try clicking the buttons. If everything works, you should be able to page down with the thumb trigger and page back with the other one. </p>
With this file you will be able to print FlipGrip Minimalist Media Control Keyboard with your 3D printer. Click on the button and save the file on your computer to work, edit or customize your design. You can also find more 3D designs for printers on FlipGrip Minimalist Media Control Keyboard.