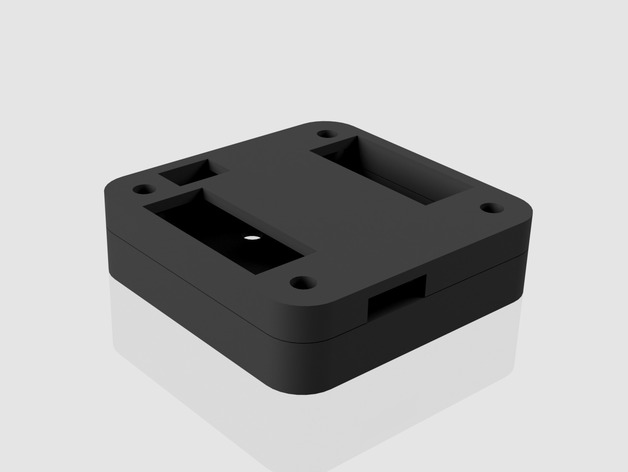
Flip32+ flight controller slim enclosure
thingiverse
I've been struggling with leveling my Flip32+ board and found the barometer to be completely unreliable. To tackle this, I decided to create an enclosure for the board that would allow me to add a small spirit level on top, thereby protecting the barometer from wind interference. This was accomplished by simply making sure the 3mm hole at the bottom of the enclosure is kept clear of any obstructions. To successfully integrate this enclosure onto my frame, I chose to utilize double-sided vibration-damping tape, specifically one that has a V-shaped cut-out designed to ensure adequate airflow reaches the barometer. For the actual assembly process, here's what you'll need: You will require 4 M3x10 nylon screws for assembling the two parts together. Additionally, you will need 36x36mm double-sided vibration-damping tape featuring a V-shaped cut out to facilitate airflow to the barometer. Firstly, print the two enclosure parts in ABS at 0.1 layer height using solid settings. Subsequently, you will need to carefully cut M3 threads into the bottom part of the enclosure. Finally, insert the Flip32+ flight controller into its designated position within the newly created space, followed by securing it using four M3x10 nylon screws to effectively seal the unit in place.
With this file you will be able to print Flip32+ flight controller slim enclosure with your 3D printer. Click on the button and save the file on your computer to work, edit or customize your design. You can also find more 3D designs for printers on Flip32+ flight controller slim enclosure.
