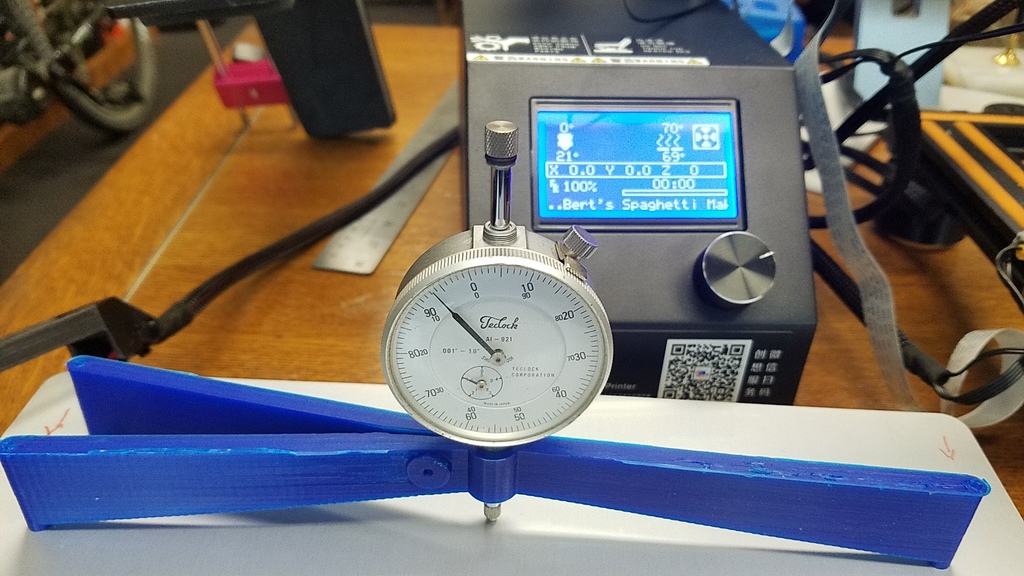
Flatness Measuring Tool
thingiverse
This tool equipped with a dial indicator allows you to measure how level a surface is and if it's leaning up or down. This design features a 250 mm span (approximately 10"). Calibrate it on a known flat surface, such as a granite counter top, which works perfectly. I used it to even out the bed of my printer CR10. The bore for the dial indicator measures .375", a standard size that fits both analog and digital dial indicators I own. There's an M3 screw and nut provision to secure the dial indicator (it may be tight enough without the screw). Place this part with the dial indicator in place on a flat surface, like a granite counter top or thick glass (if it's a sheet of flat material, check both sides to ensure they have the same reading or take the average). Set the dial indicator to zero. Place the setup on the surface to measure and see if it has a plus or minus measurement. Carefully and methodically scan the surface until it's perfectly level. If there's a wave or cup, work around the part. Check measurements at all four sides of a plate, across the center, and diagonals to ensure that it's flat.
With this file you will be able to print Flatness Measuring Tool with your 3D printer. Click on the button and save the file on your computer to work, edit or customize your design. You can also find more 3D designs for printers on Flatness Measuring Tool.
