Flashforge Print Bed Spring Guide
thingiverse
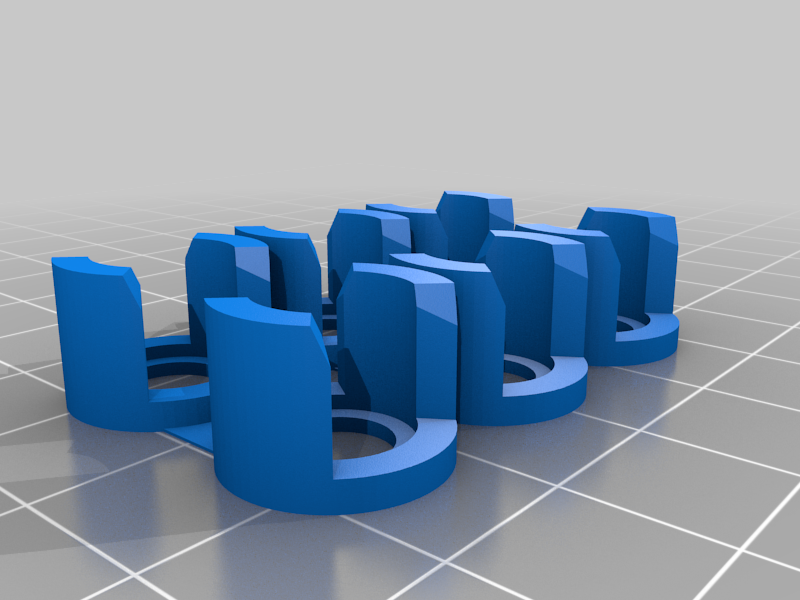
FlashForge Dreamer Print Bed Spring Replacement Guide Replacing the print bed spring on your FlashForge Dreamer 3D printer is a straightforward process that requires minimal tools and expertise. Begin by unplugging the power cord from the printer to ensure a safe working environment. Next, locate the print bed spring located at the rear of the machine, held in place by two screws. Remove these screws using an Allen wrench or screwdriver, then gently pull out the spring from its housing. Carefully lift the print bed away from the spring, taking note of any remaining cables and wires that may be attached. Release any tension on the bed by adjusting the adjustment knobs until it is completely free. With the print bed removed, you can now access the spring for replacement. Locate the old spring and remove any screws or clips holding it in place. Gently pull out the old spring and discard it. Next, take your new spring and insert it into its housing, ensuring it is properly seated and secure. Replace any screws or clips that were removed earlier. Reattach the print bed to the spring by aligning it with the guides on the machine. Secure the bed in place using the adjustment knobs until it clicks into position. Finally, plug in the power cord and test the printer to ensure proper function of the new spring.
With this file you will be able to print Flashforge Print Bed Spring Guide with your 3D printer. Click on the button and save the file on your computer to work, edit or customize your design. You can also find more 3D designs for printers on Flashforge Print Bed Spring Guide.