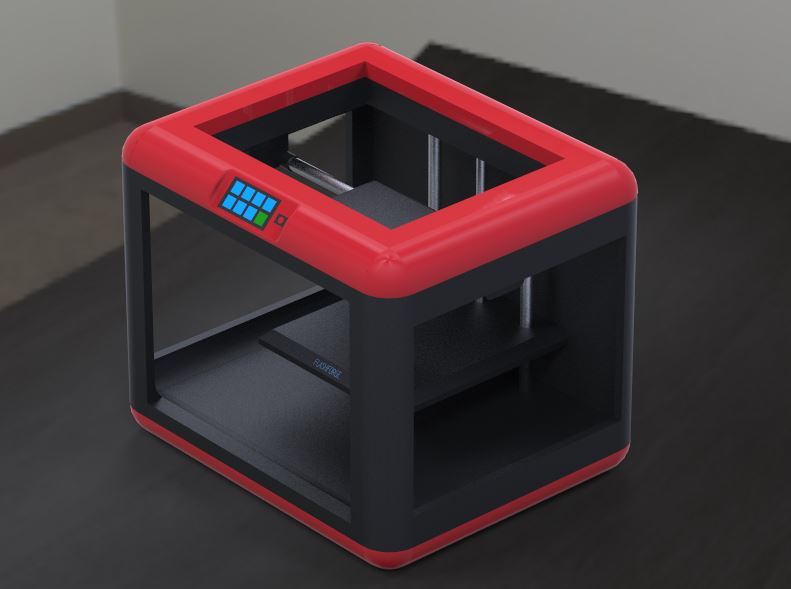
Flashforge Finder Mock-Up - Print 3D Printer
thingiverse
Printing a flashforge finder mock-up on a 3d printer is a straightforward process that requires attention to detail and a bit of creativity. First, gather all necessary materials, including the 3d printer model file, printing settings, and physical supplies such as filament and any necessary tools. To begin, open the 3d modeling software or slicer program and load the flashforge finder mock-up model file. Adjust the print settings to suit your needs, taking into account factors like layer height, infill density, and support material. Once you've configured the settings, export the file as a g-code file that's compatible with your 3d printer. Next, prepare the physical supplies by cutting the filament to the required length and loading it into the 3d printer. Also, make sure any necessary tools like scissors or a drill are within reach. With everything ready, start the print job on the 3d printer, following the guidelines set in the g-code file. During the printing process, monitor the progress and adjust as needed to ensure a smooth, high-quality print. Once the print is complete, remove it from the 3d printer and inspect for any defects or imperfections. If necessary, make adjustments to the print settings and reprint the mock-up. With patience and practice, you'll be able to create accurate and detailed flashforge finder mock-ups on your 3d printer.
With this file you will be able to print Flashforge Finder Mock-Up - Print 3D Printer with your 3D printer. Click on the button and save the file on your computer to work, edit or customize your design. You can also find more 3D designs for printers on Flashforge Finder Mock-Up - Print 3D Printer.
