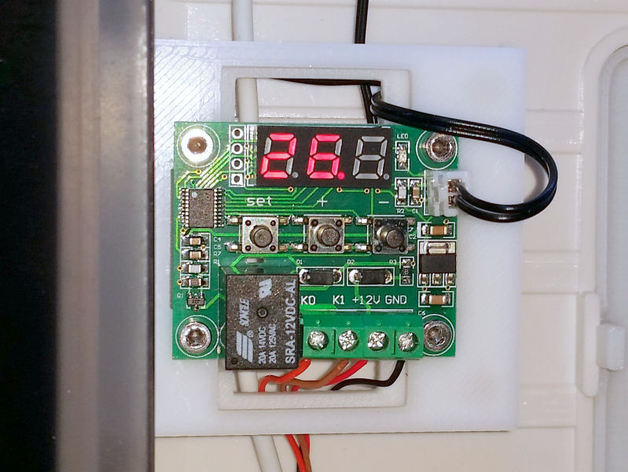
FlashForge Dreamer Thermostat Mount
thingiverse
It appears to be a step-by-step guide for upgrading the FlashForge Dreamer 3D printer with temperature monitoring and control features, including installation of fans to improve cooling. The steps include: 1. Removing parts and components 2. Replacing parts and adding new hardware 3. Installing power supply wires 4. Connecting the thermostat 5. Mounting the thermostat These upgrades seem to be designed to address issues with overheating on the 3D printer. However, without access to actual photographs and materials of these upgrade processes, I cannot give a clear judgment about what was wrong before. Also, as per the author’s note at the end of this manual there may be missing information or incorrect instructions; hence any help should always be welcomed.
With this file you will be able to print FlashForge Dreamer Thermostat Mount with your 3D printer. Click on the button and save the file on your computer to work, edit or customize your design. You can also find more 3D designs for printers on FlashForge Dreamer Thermostat Mount.
