FlashForge Dreamer
thingiverse
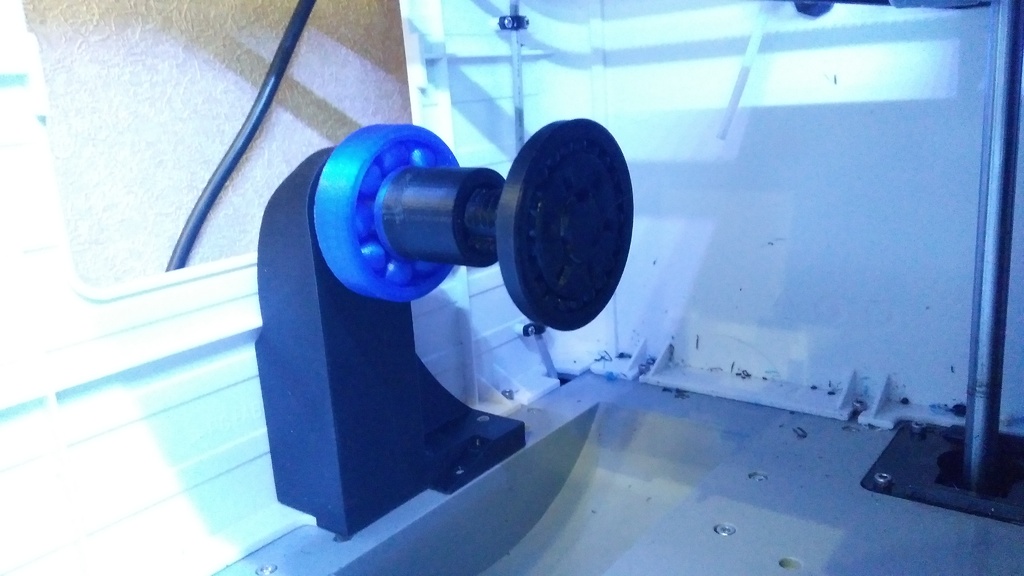
The ultimate goal was to position the coil perfectly on the right side. I attempted to print custom designs using Thingiverse, but neither option allowed me to place the D190d52L82 coil from both sides. As a result, I had to create my own unique model. FDM Plast COIL Left: 210mm diameter, 52mm width, 102mm length, ABS density 70%, standard resolution, brim, and substrate Left: 205mm diameter, 52mm width, 82mm length, ABS density 70%, standard resolution, brim, and substrate Right: 195mm diameter, 52mm width, 82mm length, ABS density 70%, standard resolution, brim, and substrate Spindle: ABS density 95%, high resolution, brim, and substrate Bearing: PLA high resolution, density 20% Bearing V2: ABS 20% density, high resolution, bed temperature 115C, head temperature 240C, brim, wall, FAN on, and substrate This is the maximum size I can accommodate. Do not attempt to fit anything larger inside the printer! With the right coil positioned at 190mm vertically, add +5mm From the left side, position the coil at 200mm vertically, add +5mm From the left side, position the coil at 210mm vertically, add +3mm Only use ABS material for the racks. PLA tends to sag when heated and is deformed by the weight of the coil. The balls on the bearing Dreamer_Bearing_V2 are normally glued in place. To remove them, gently push and tear from the outer circle. Grind the bearing by hand after running it in. Apply silicone oil and use toothpaste for grinding. Use a paper clip as a brake to prevent the bearing from racing. A nut with a handle is included, but without the bearing. On the left side, I've designed a model featuring a 102mm spindle. New models will be added, and the project is still incomplete.
With this file you will be able to print FlashForge Dreamer with your 3D printer. Click on the button and save the file on your computer to work, edit or customize your design. You can also find more 3D designs for printers on FlashForge Dreamer.
