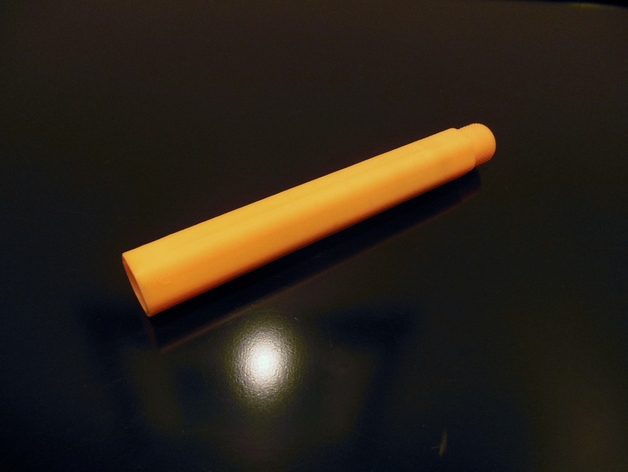
Flash Light
thingiverse
This is a simple flashlight. To create one, all you need are two AA batteries, soldering iron, pliers, 3D printer, shrinkwrap or electrical tape, piece of wire, and a 10mm LED like the white super bright led found at https://www.sparkfun.com/products/11118. The design draws about three-fourths of its max current when connected to batteries, so it doesn't need a resistor. However, if you use a different LED, measure the current draw first. If you have questions during assembly, ask. Please be patient, and I will post a design using four 5mm LEDs next. Instructions Step 1: Download the Files Needed for the Project Step 2: Prepare the Files for Printing (Normal Settings, No Support) Step 3: Print the Necessary Parts Step 4: Gather the Required Items: 2 AA Batteries, Piece of Wire, 10mm LED, Shrink Wrap Step 5: Bend the Positive Lead of the LED as Shown in the Picture. This Is Where the Positive End of the Battery Will Make Contact. Step 6: Bend the Negative Lead Out of the Way and Straighten It Again, Solder a Wire to the Negative Lead. Step 7: Secure the Solder Connection with Electrical Tape or Shrink Wrap Step 8: Insert the Led/Wire Assembly into the Housing. Align the Wire With the Cutout Running Along the Length of the Housing. Add Batteries and Determine Where to Cut the Wire and Strip It to Make Contact With the Negative Side of the Battery. Step 9: Strip the End of the Wire, Cut It, and Bend it Into a Circle for Better Connection Step 10: Screw in the Endcap Until the LED Turns On. Apply Lubricant or Grease to the Threads to Make Turning Easier. Step 11: Unscrew the Endcap If the LED Doesn't Turn Off When the Cap Is Removed. Check the Wire/Negative Battery Connection and Adjust as Needed Step 12: Enjoy Your Functional Flashlight
With this file you will be able to print Flash Light with your 3D printer. Click on the button and save the file on your computer to work, edit or customize your design. You can also find more 3D designs for printers on Flash Light.
