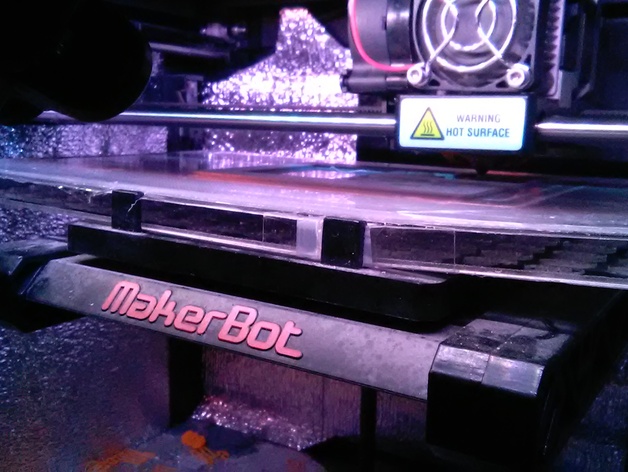
Fixing makerbot replicator 2 build plate
thingiverse
I'm not sure if this will work for anyone else, but it worked for me like a charm! I had my doubts, though - what if it breaks your build plate in half or causes some other disaster? My warpage was so bad that it wrapped about a foot of filament around the inside of my extruder. You've been warned! My acrylic build plate had warped over time, and I tried to fix it by standing on it, but it snapped in two! With MakerWare software, I could print with a raft, but when I switched to Cura on OctoPi, the raft stuck hard to the prints. I tried putting packing tape down, and that worked! Then I had an idea - why not print a raft just once, covering the entire build plate? It would be permanently attached to my broken build plate! That way, anything I printed would come off easily. And it worked like magic! To get this working, you'll need to clean your build plate and level it as best you can. Then, print the thin8.stl onto the plate with no raft. If your warpage is really bad, try printing a few smaller shapes in the center or around the outside edge to get the plate close enough. Get it to stick as well as possible because this will be your new level surface. The first few layers might not cover evenly due to build plate warpage, and I had to clear out a filament jam in the extruder motor section because of how much my plate was warped up on each corner. Once you've completed the new surface, cover it with packing tape, overlapping it slightly. Apply glue stick lightly, mix it with water, and make sure it covers the area where you'll be printing. You'll also need to move the bed down a bit because this new surface is higher than the old one. Loosen the thumb screws under the bed and adjust them until the nozzle just touches the surface of the bed. Turning the thumb screws left lowers the bed, while turning right raises it. I print with a couple of brims and manually adjust the thumb screws as the brim is being laid down to get the filament flat but not too flat. The brim should be even clear around the print. My prints now come out with a shiny surface where they were against the packing tape, and they just pull off by hand with a bit of effort. When I first achieved this, I almost cried because of all the trauma I'd endured over the years trying to remove prints - stabbing myself with razors and putty knives was no fun!
With this file you will be able to print Fixing makerbot replicator 2 build plate with your 3D printer. Click on the button and save the file on your computer to work, edit or customize your design. You can also find more 3D designs for printers on Fixing makerbot replicator 2 build plate.
